Linoleum Block Printing
I make my prints through the “linoleum block printing” process. This is a printing technique where a design is carved into a linoleum surface, with the raised (un-carved) areas then receiving the ink and this ink being pressed onto a sheet of paper.
The carving and press process is repeated multiple times to apply different color inks to the paper. Linoleum block printing creates bold, colorful prints, with no two prints being exactly identical.
Drawing on Paper; Transfer to Linoleum Black
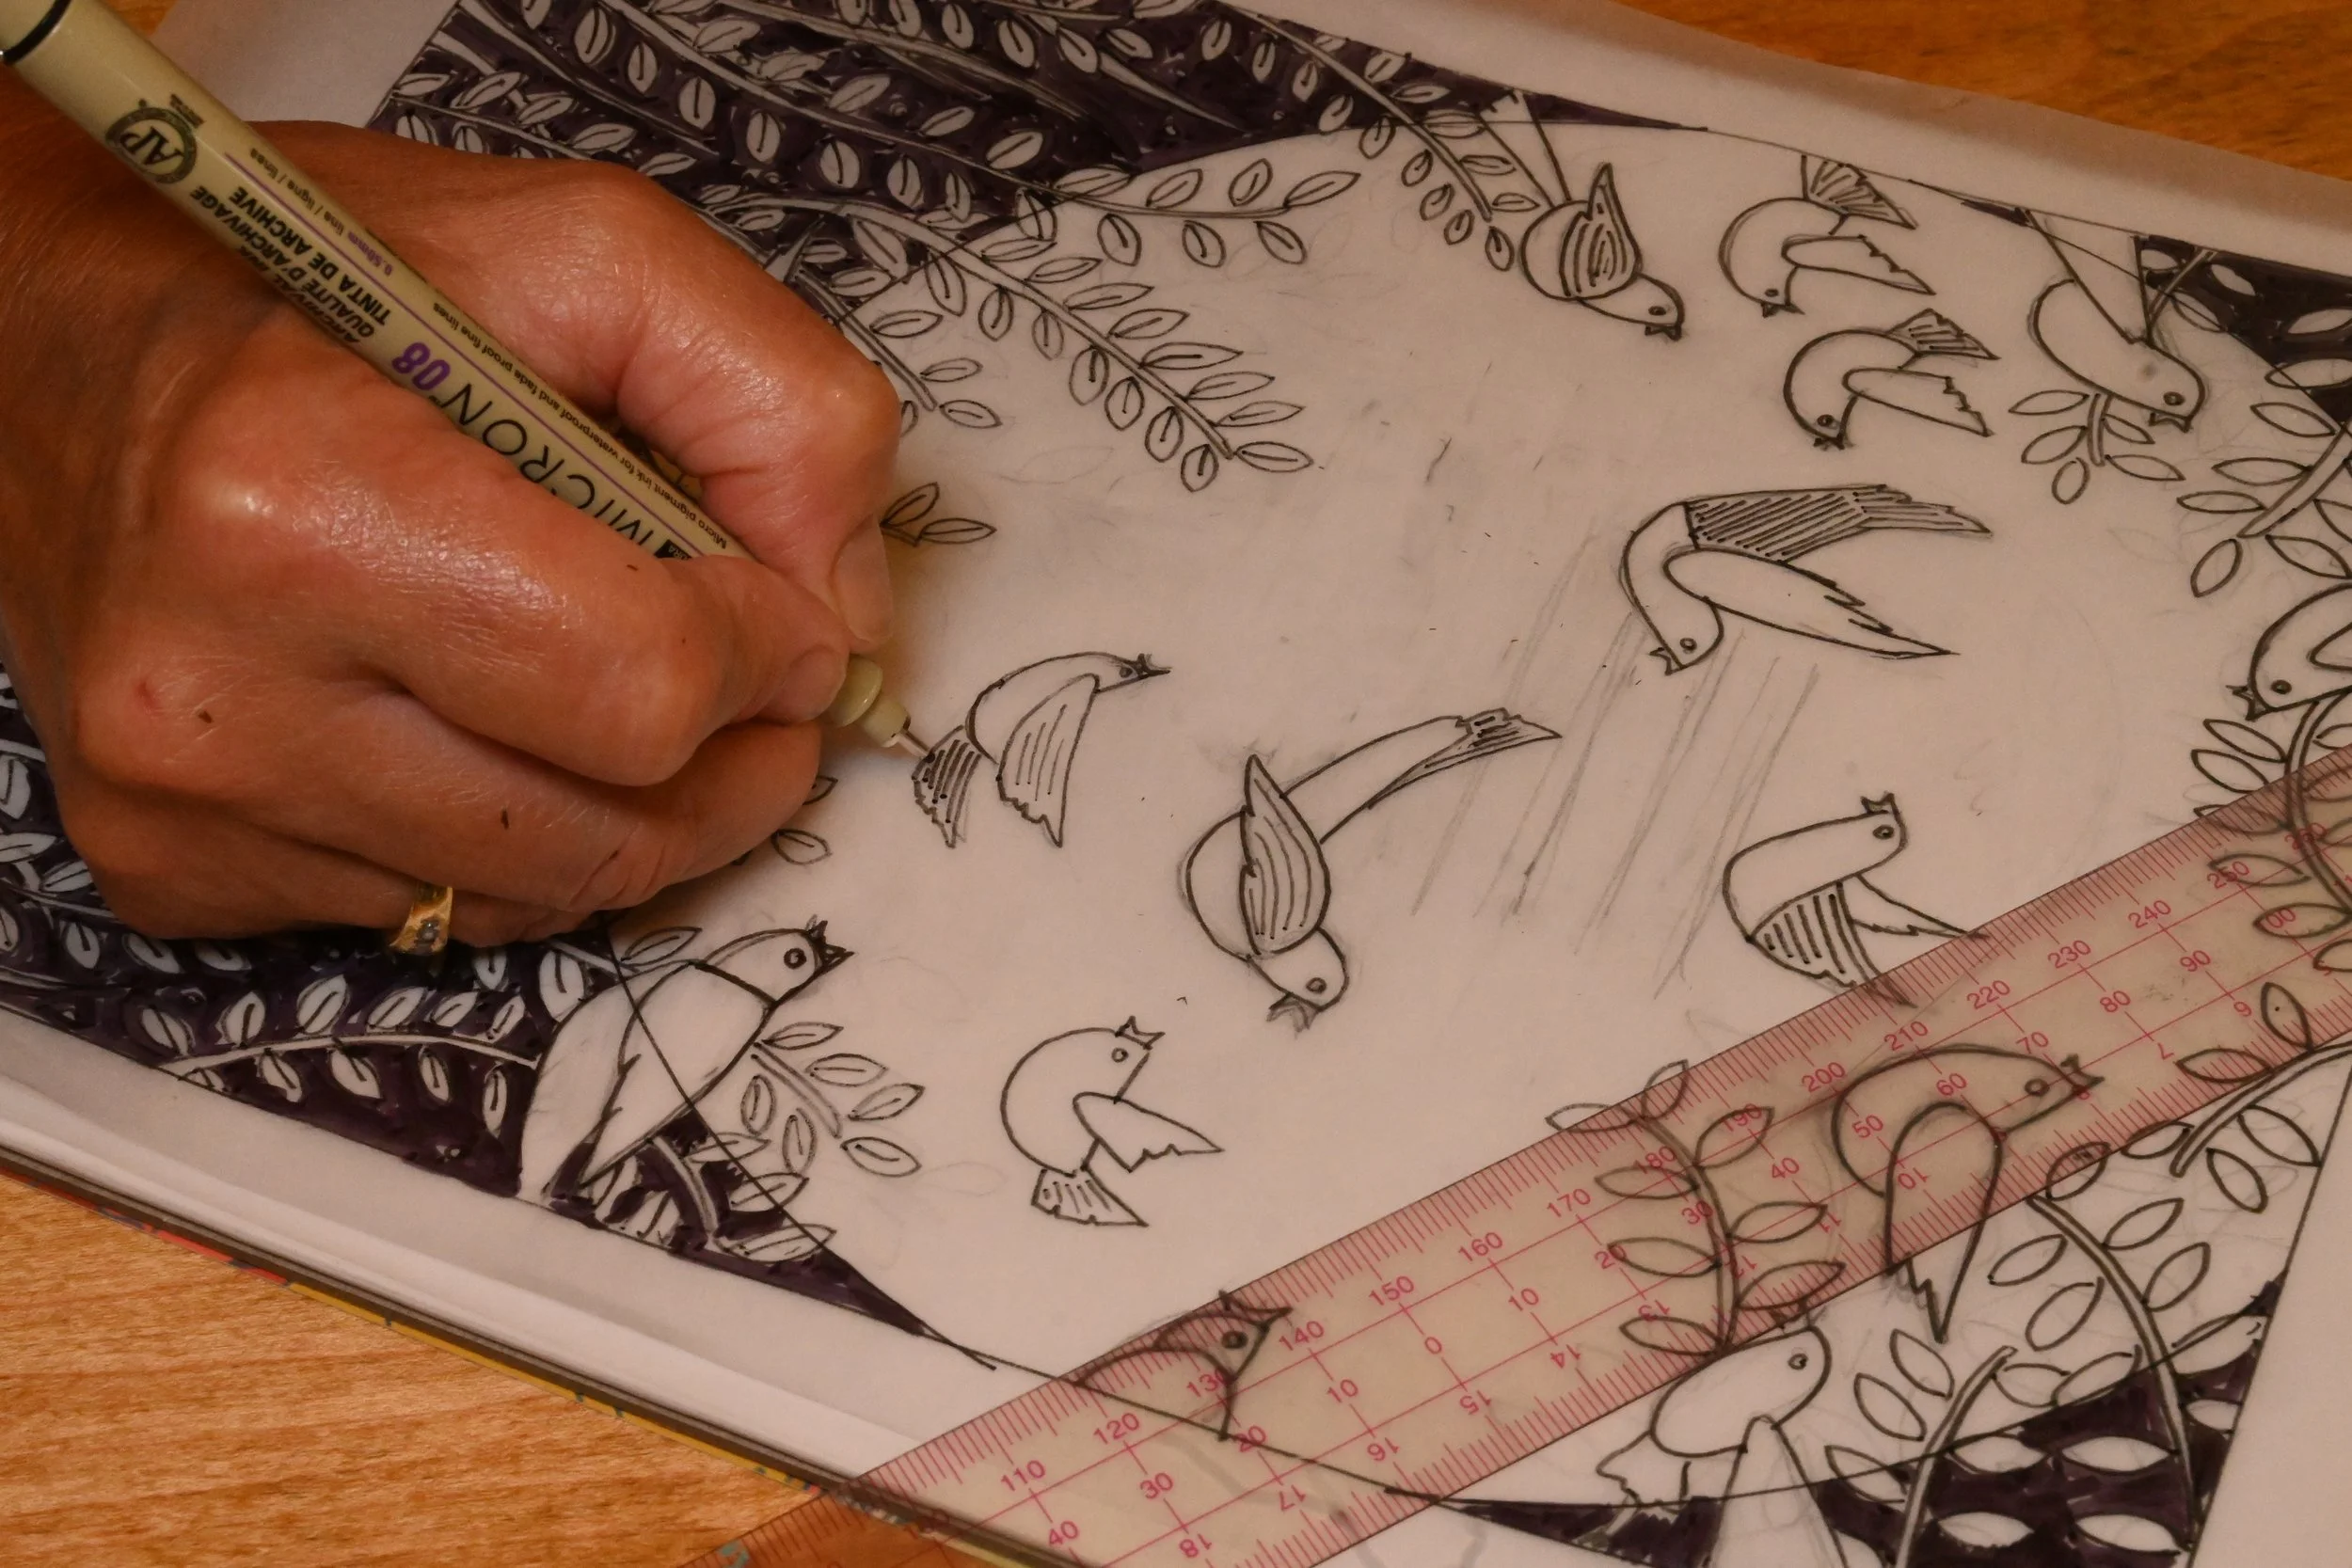
To start, I draw a design on paper. This drawing is a “positive,” meaning that the drawing appears normal to the eye when viewed.
I then transfer the drawing onto the linoleum block. The drawing is transferred to the block as a “mirror” image of the original drawing, meaning that every aspect of the original design is reflected in reverse.
Carving the Block
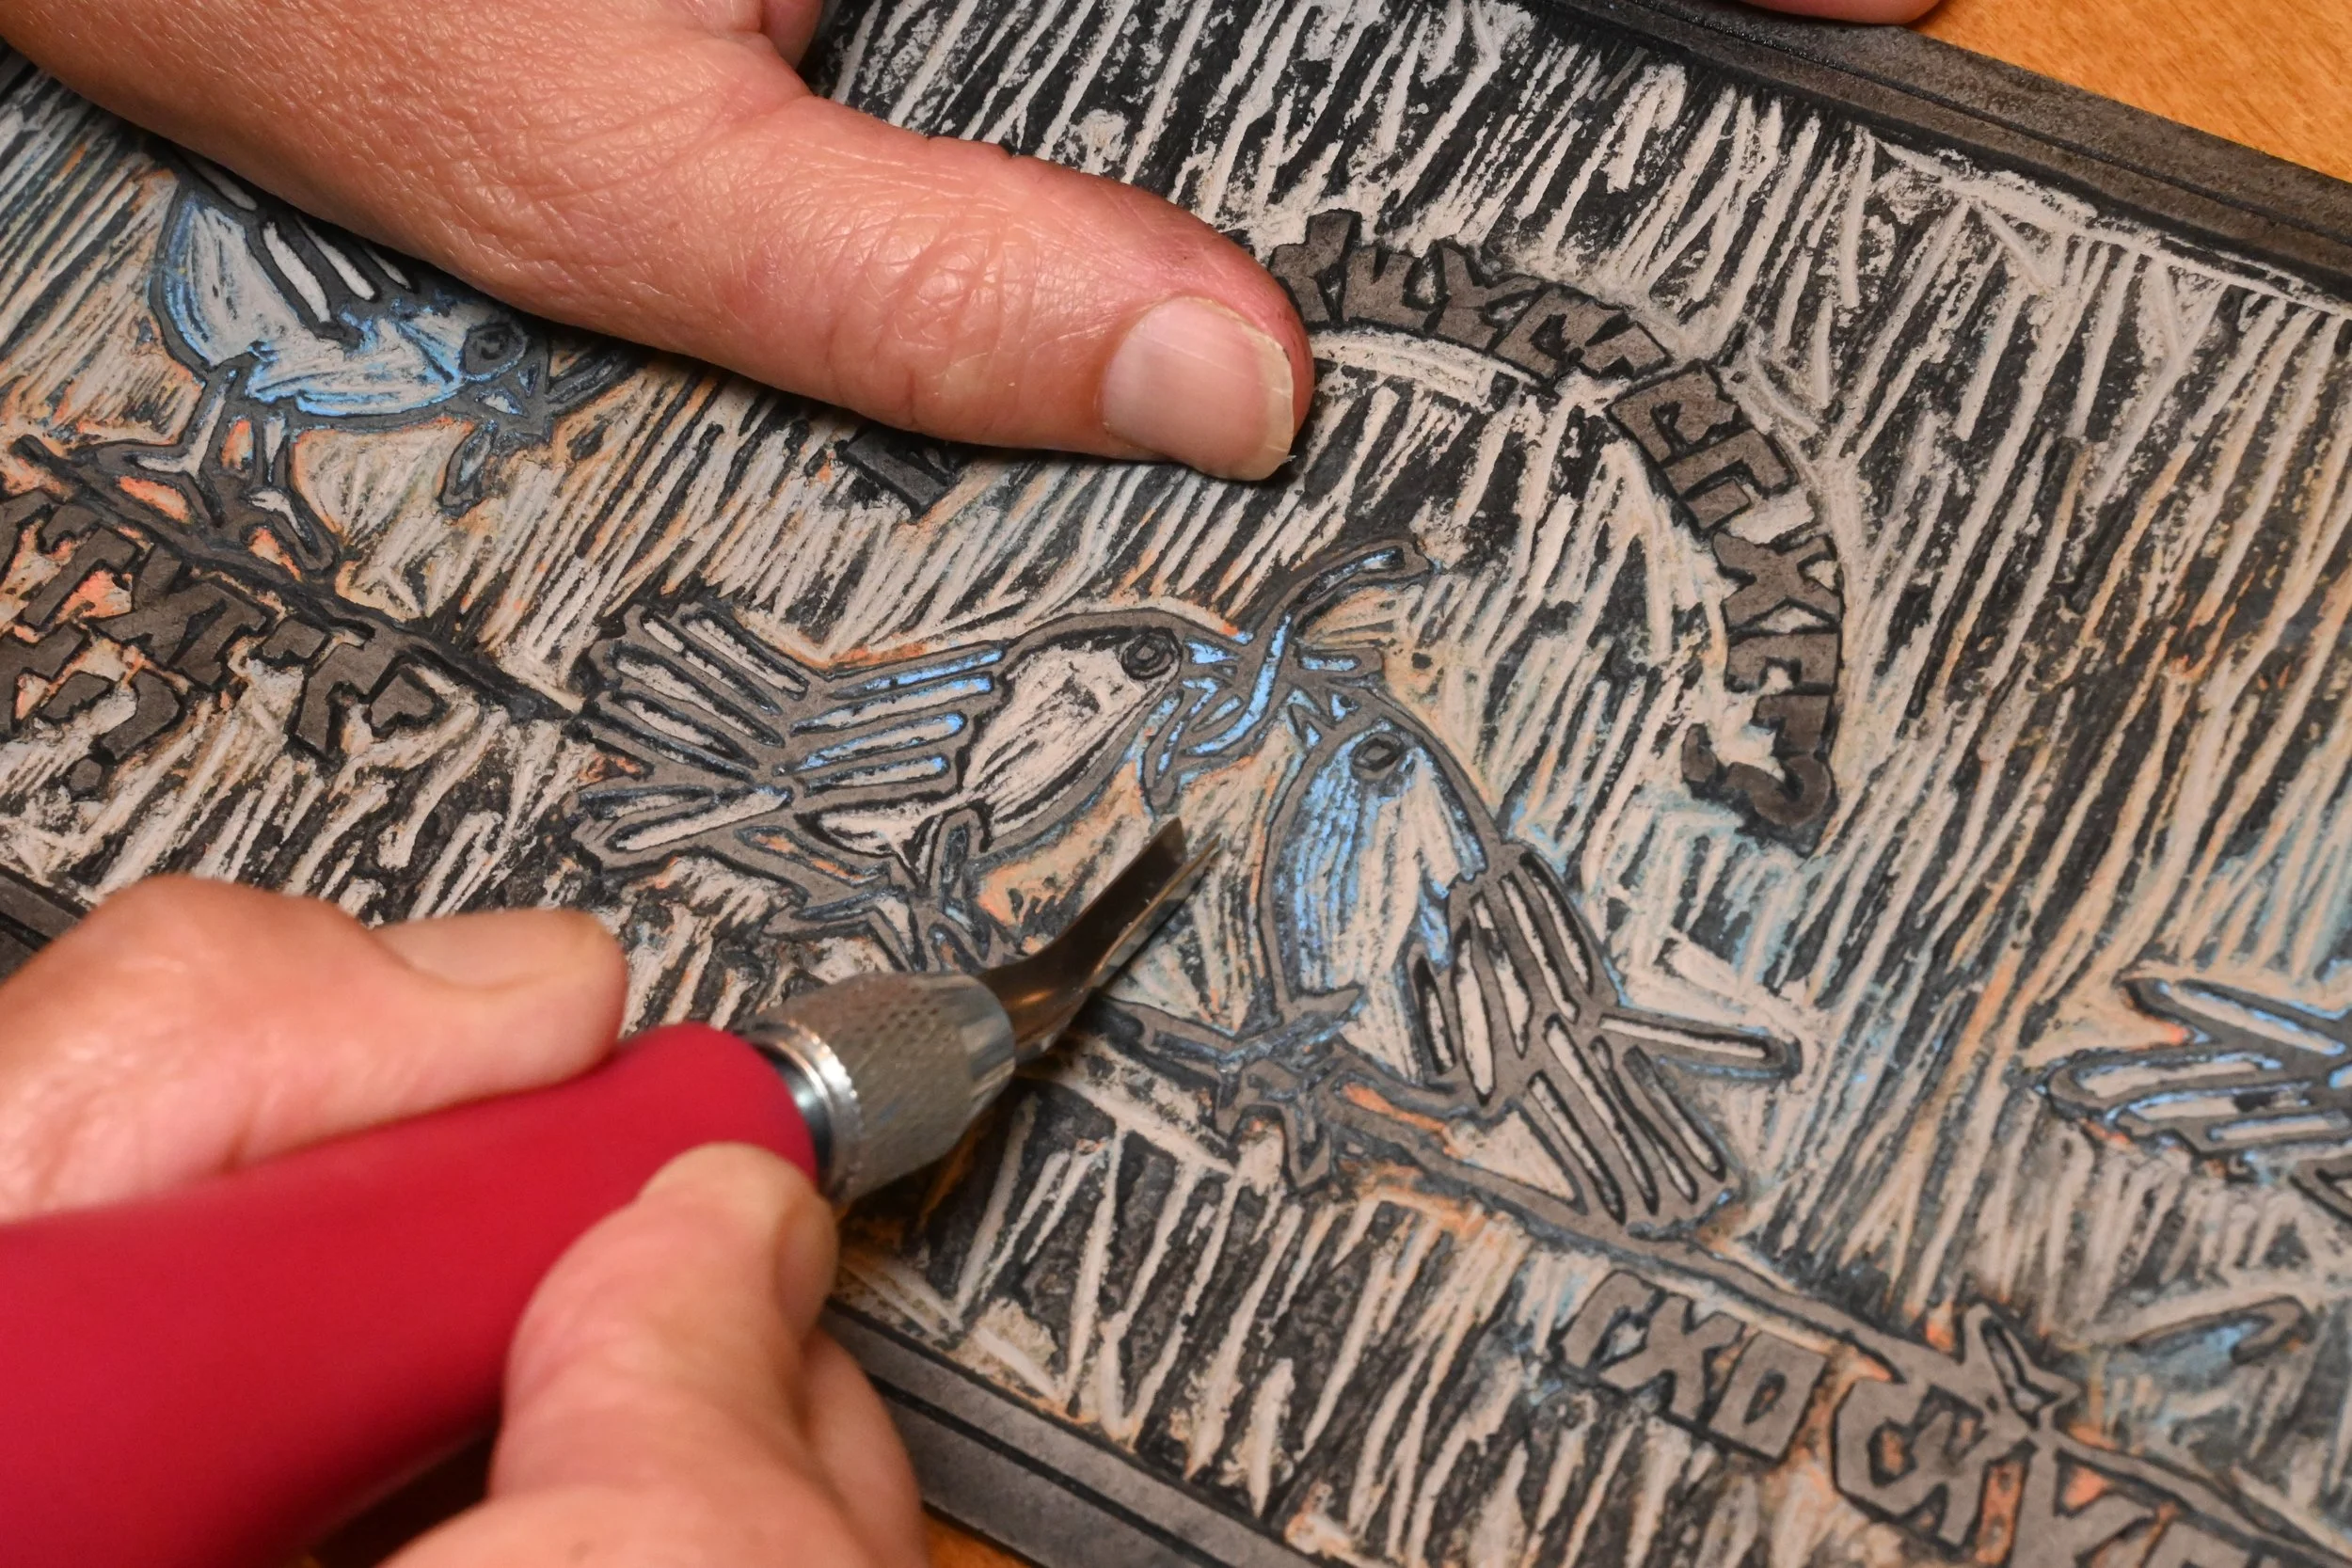
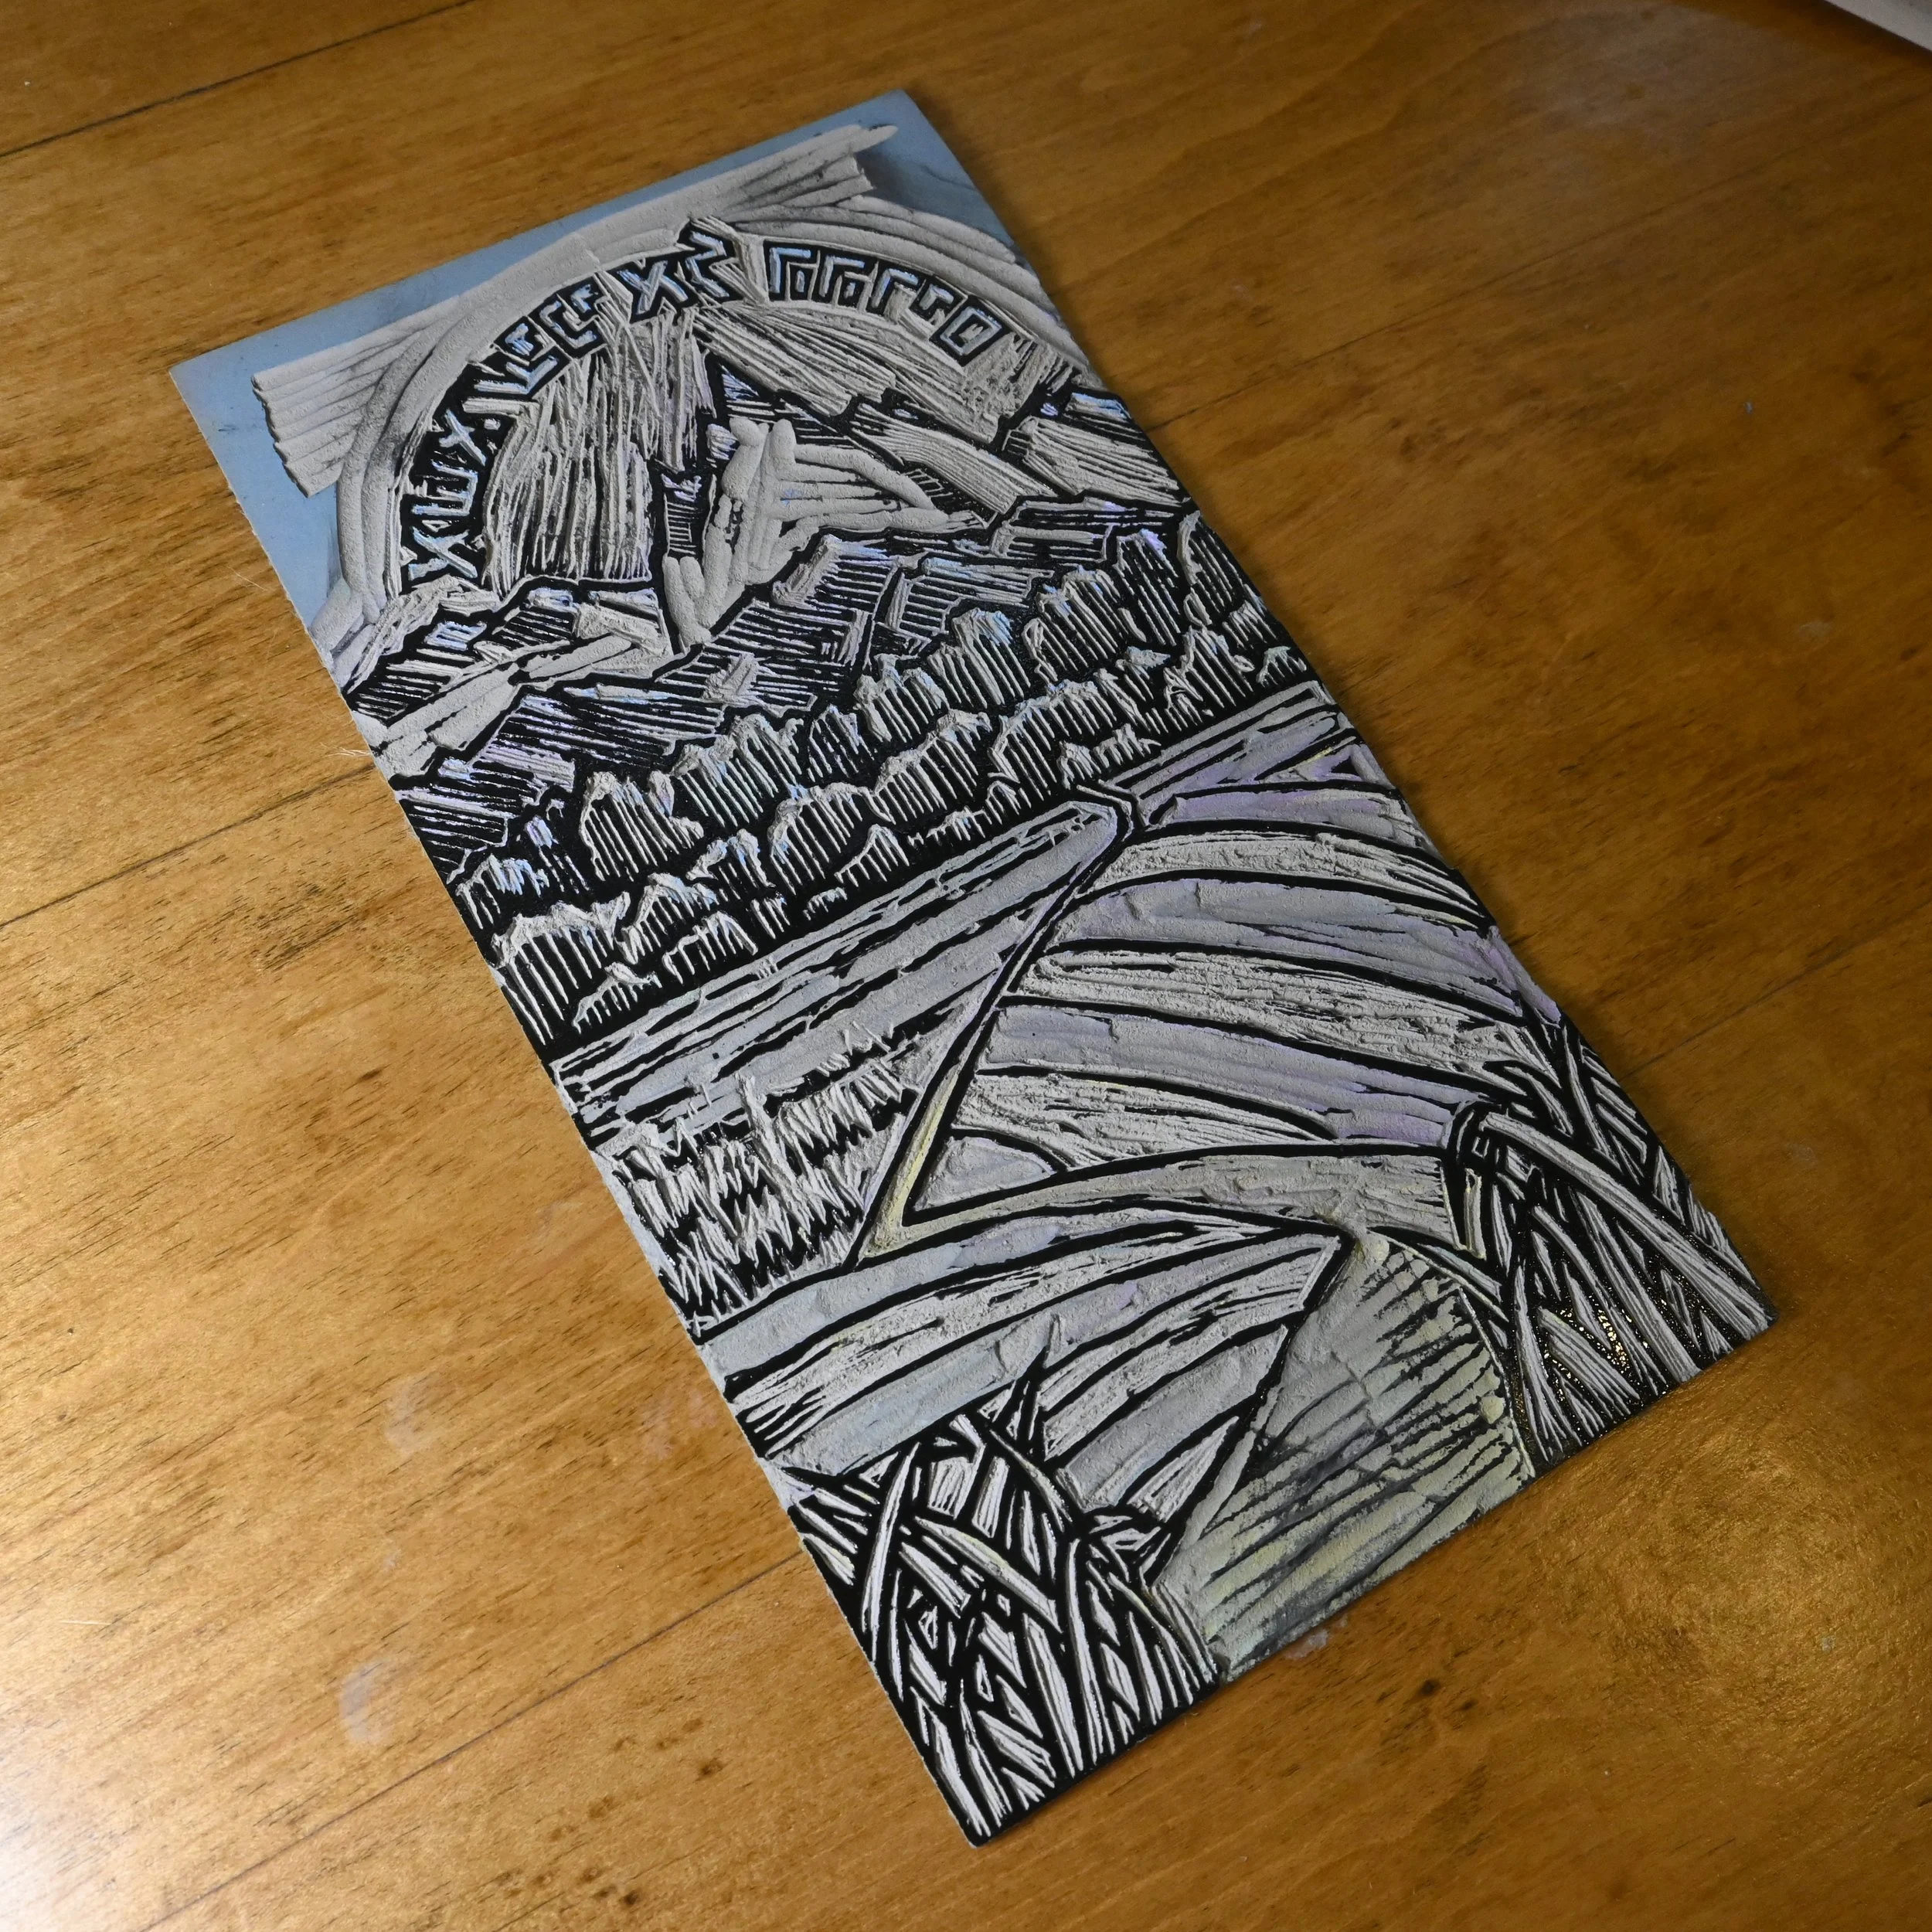
After the drawing is transferred onto the block, I use carving tools to remove linoleum in the areas that I do not want to receive ink.
The areas that are not carved remain higher than the carved areas, so that the raised areas will be covered with ink and printed on the final print.
Inking the Block
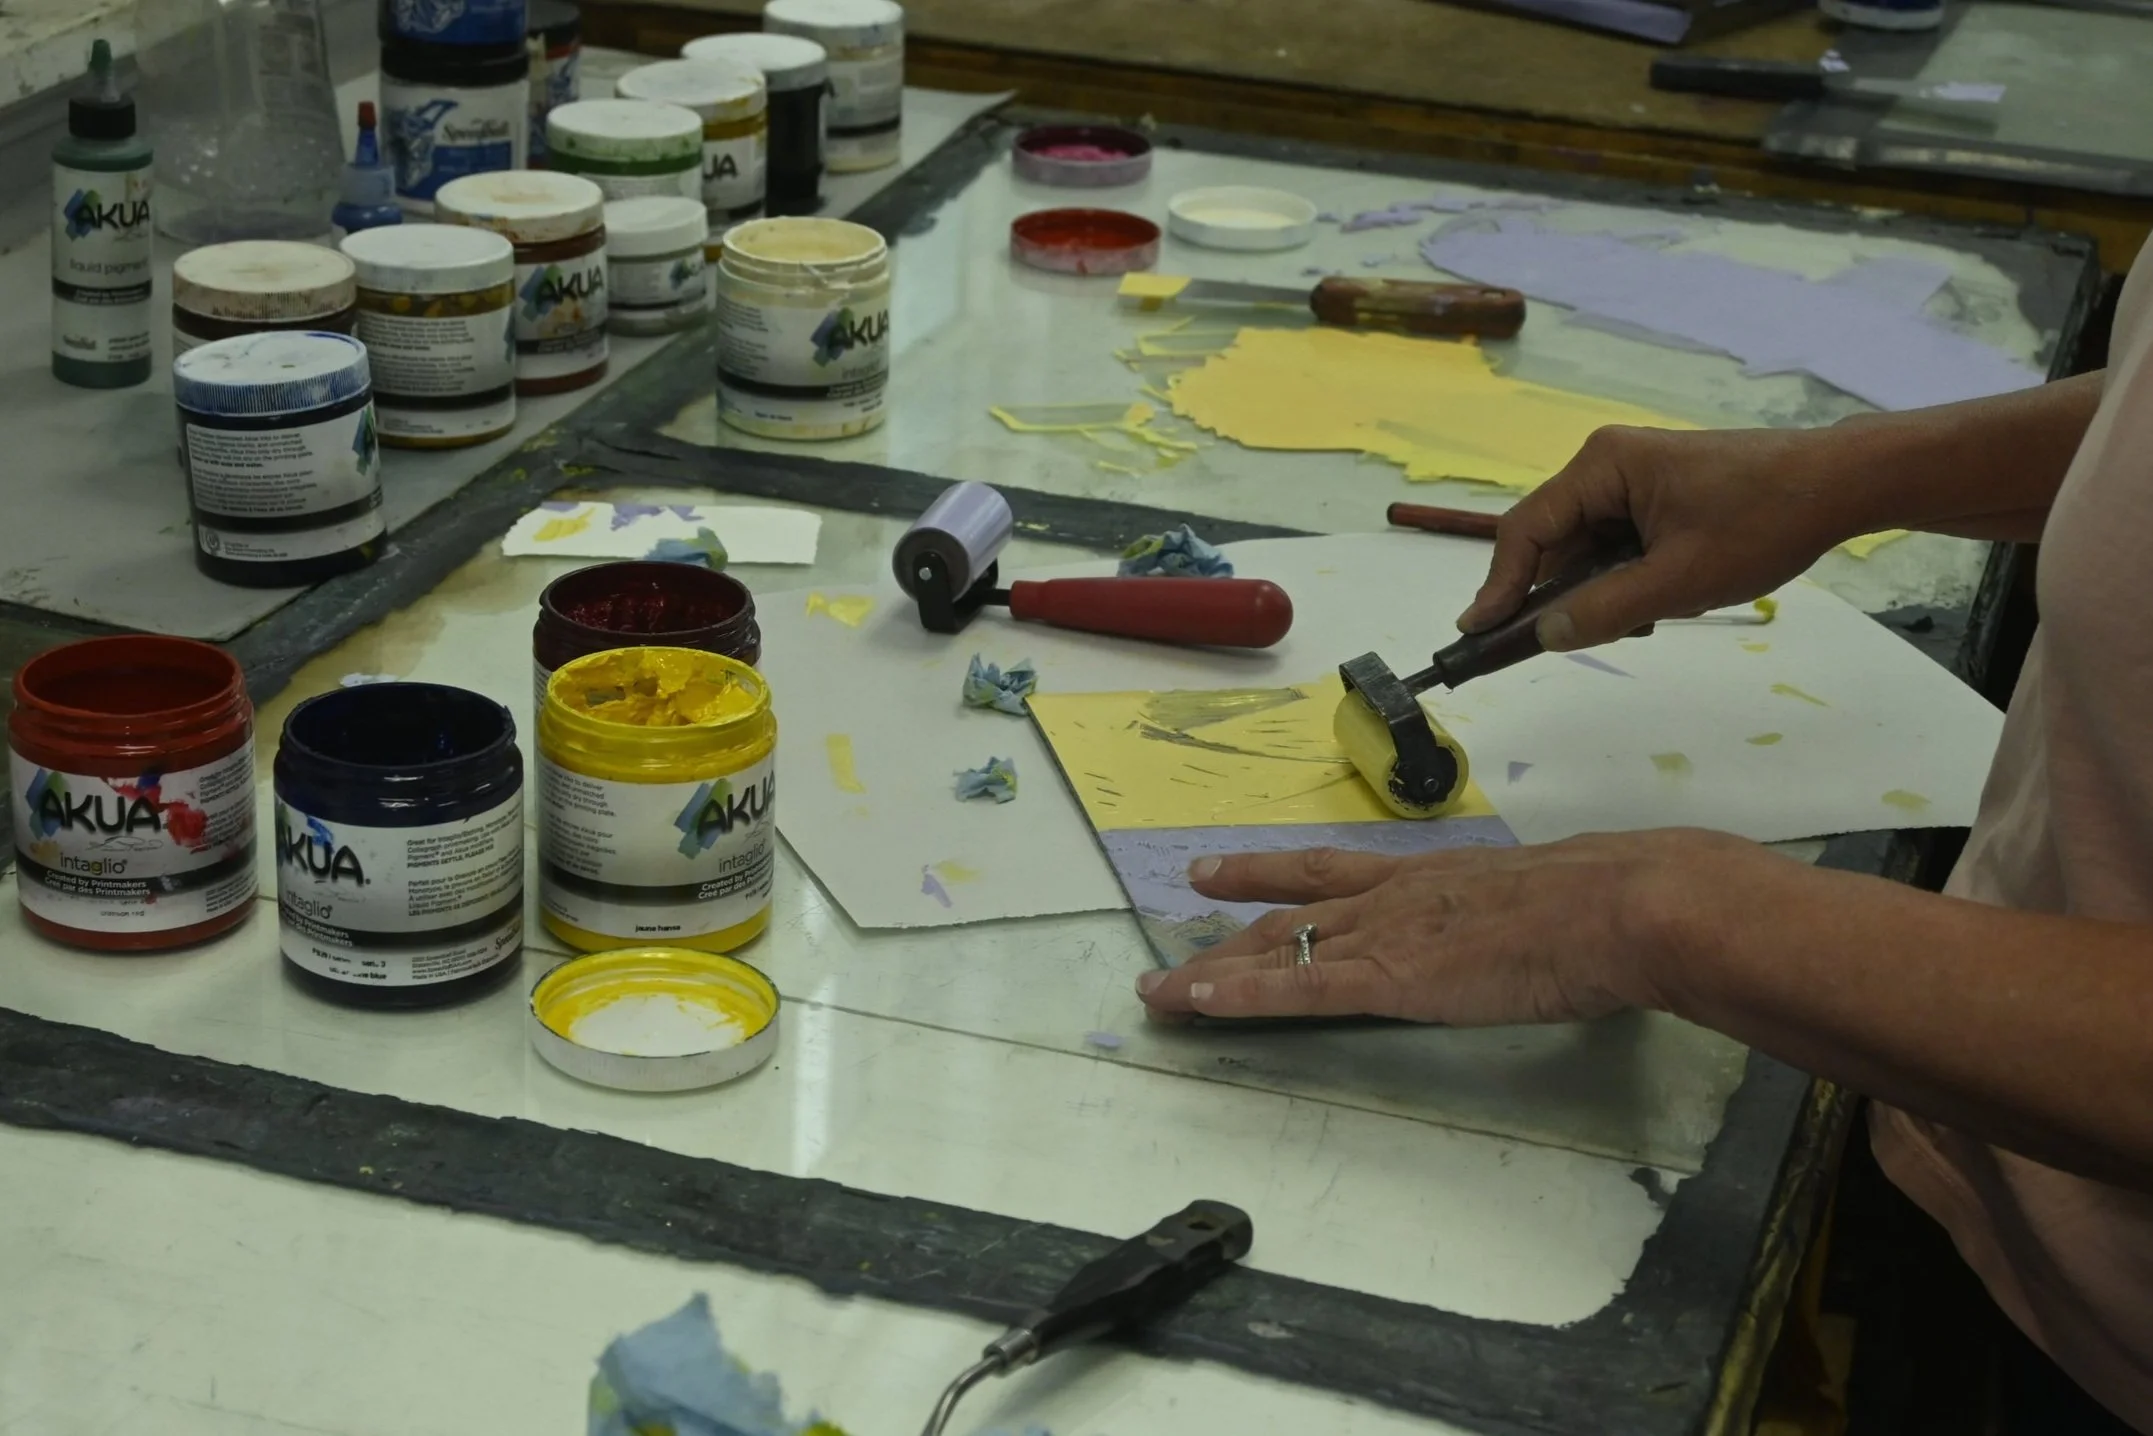
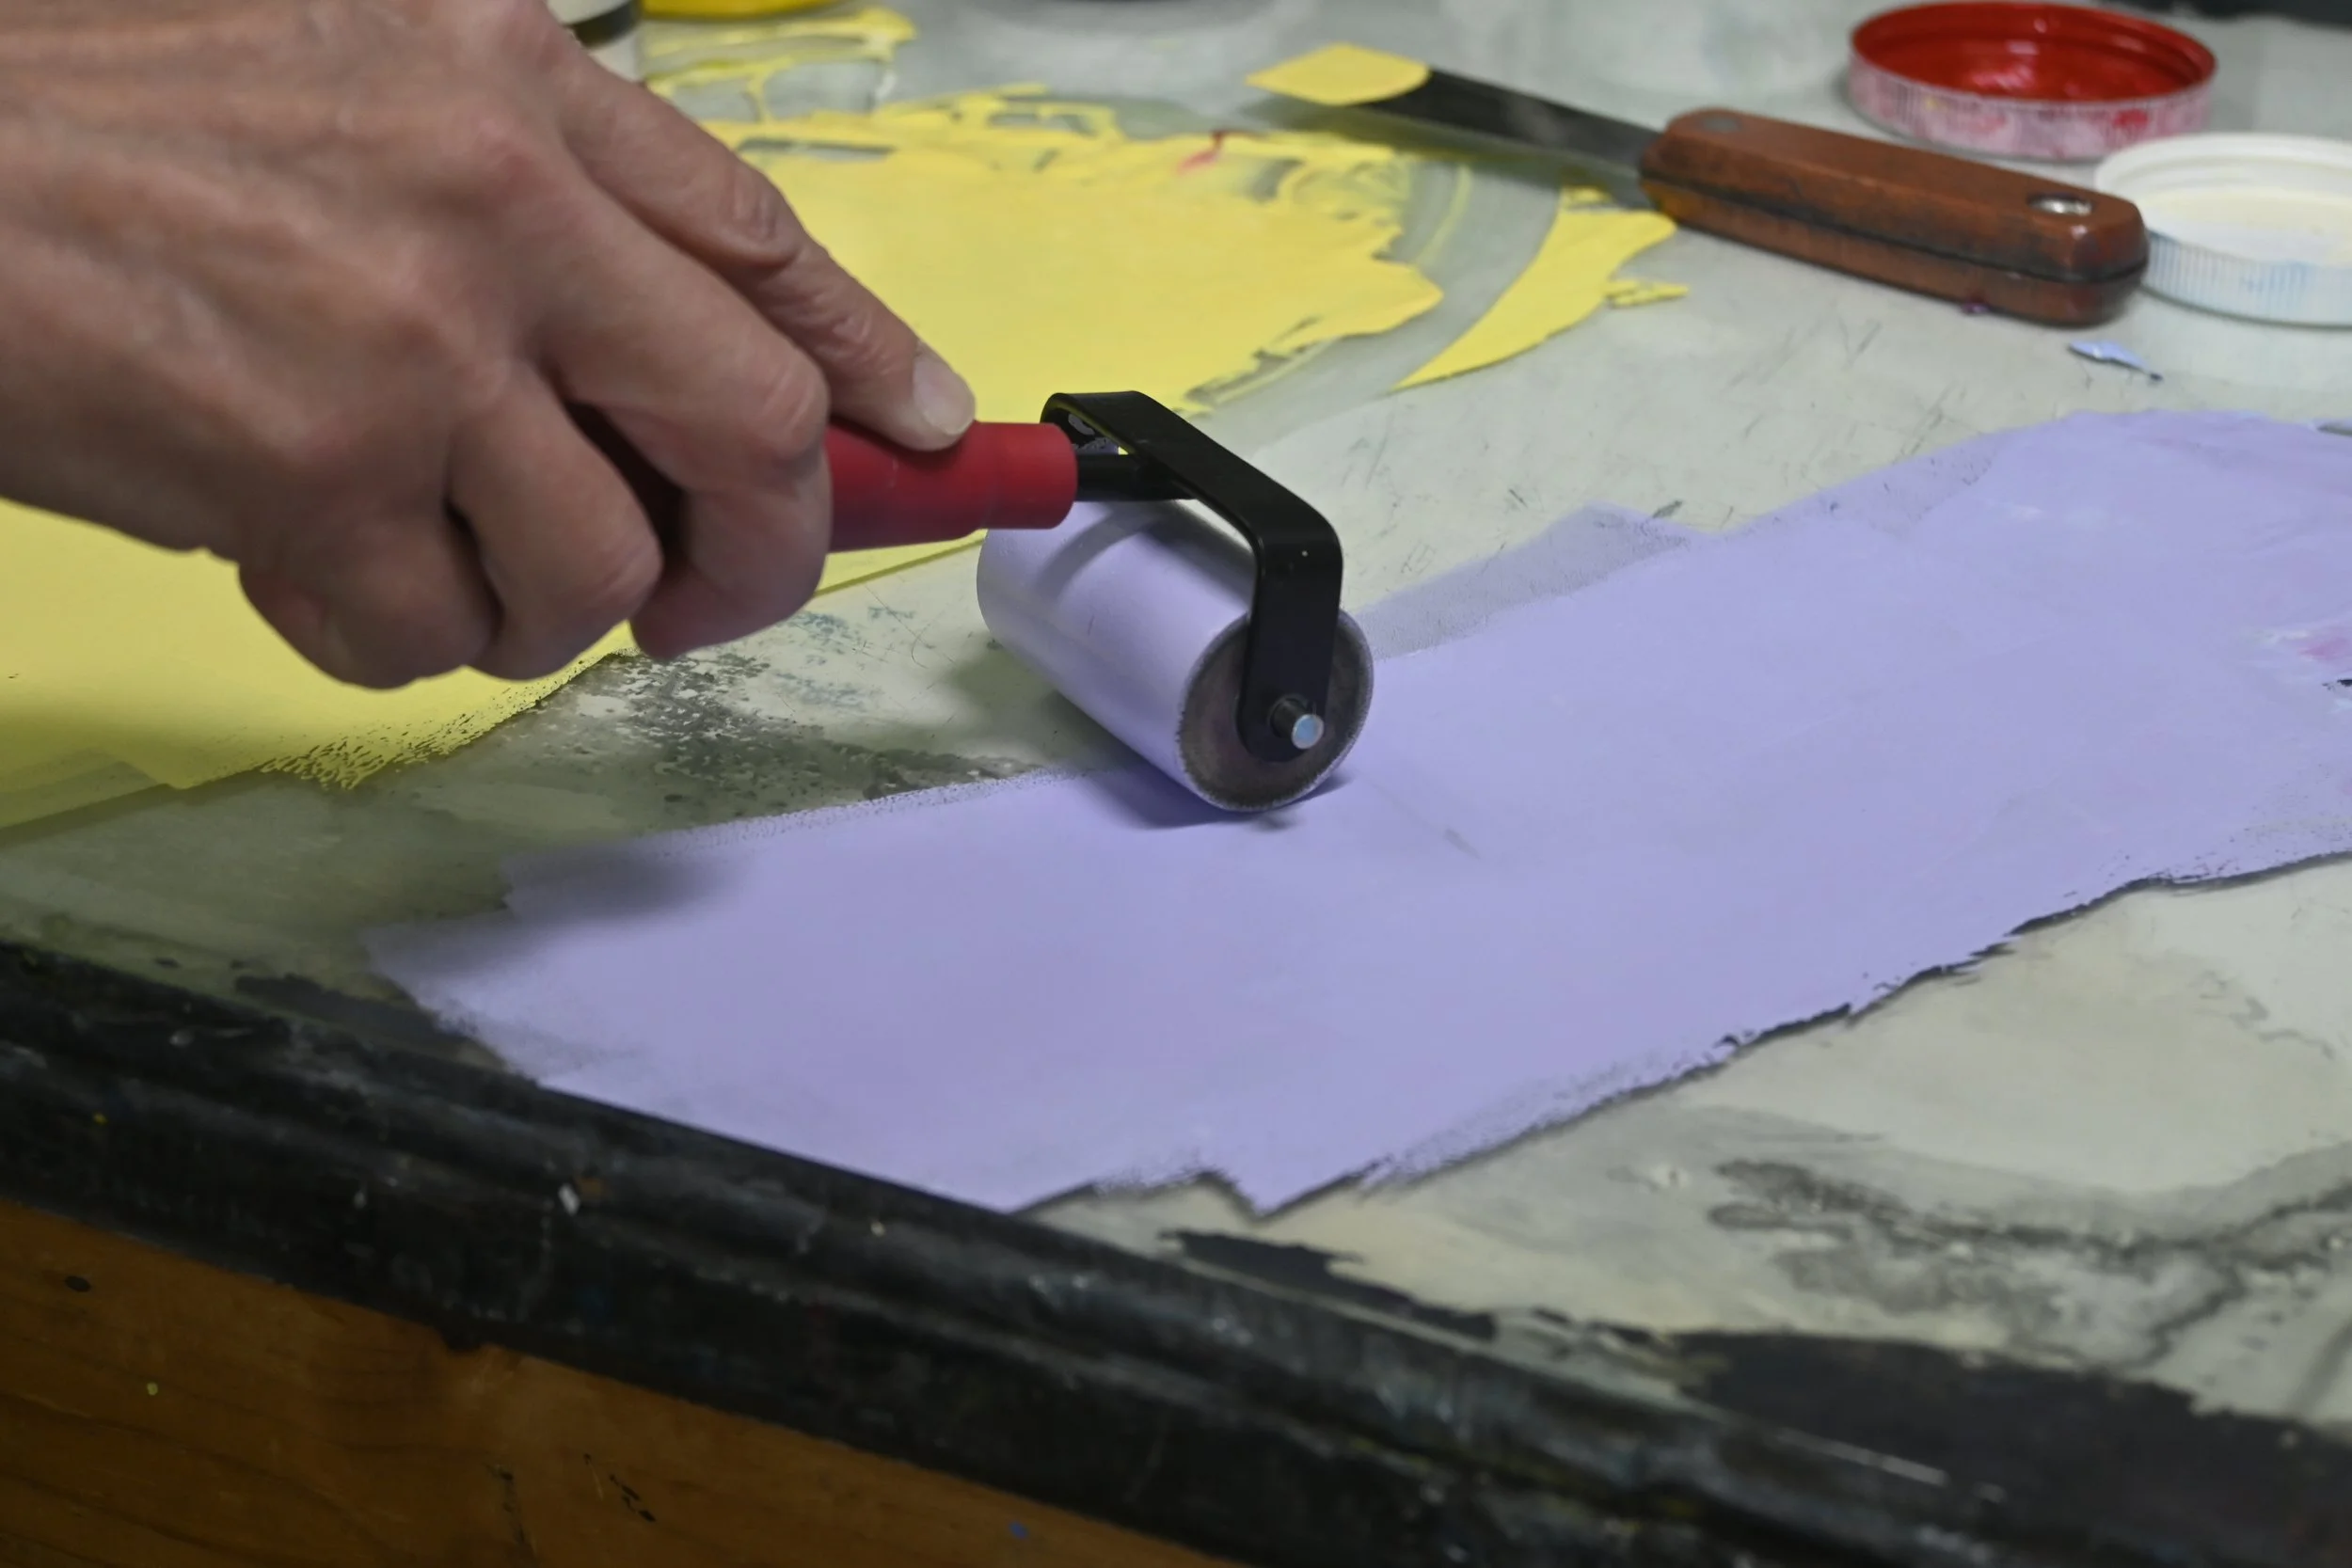
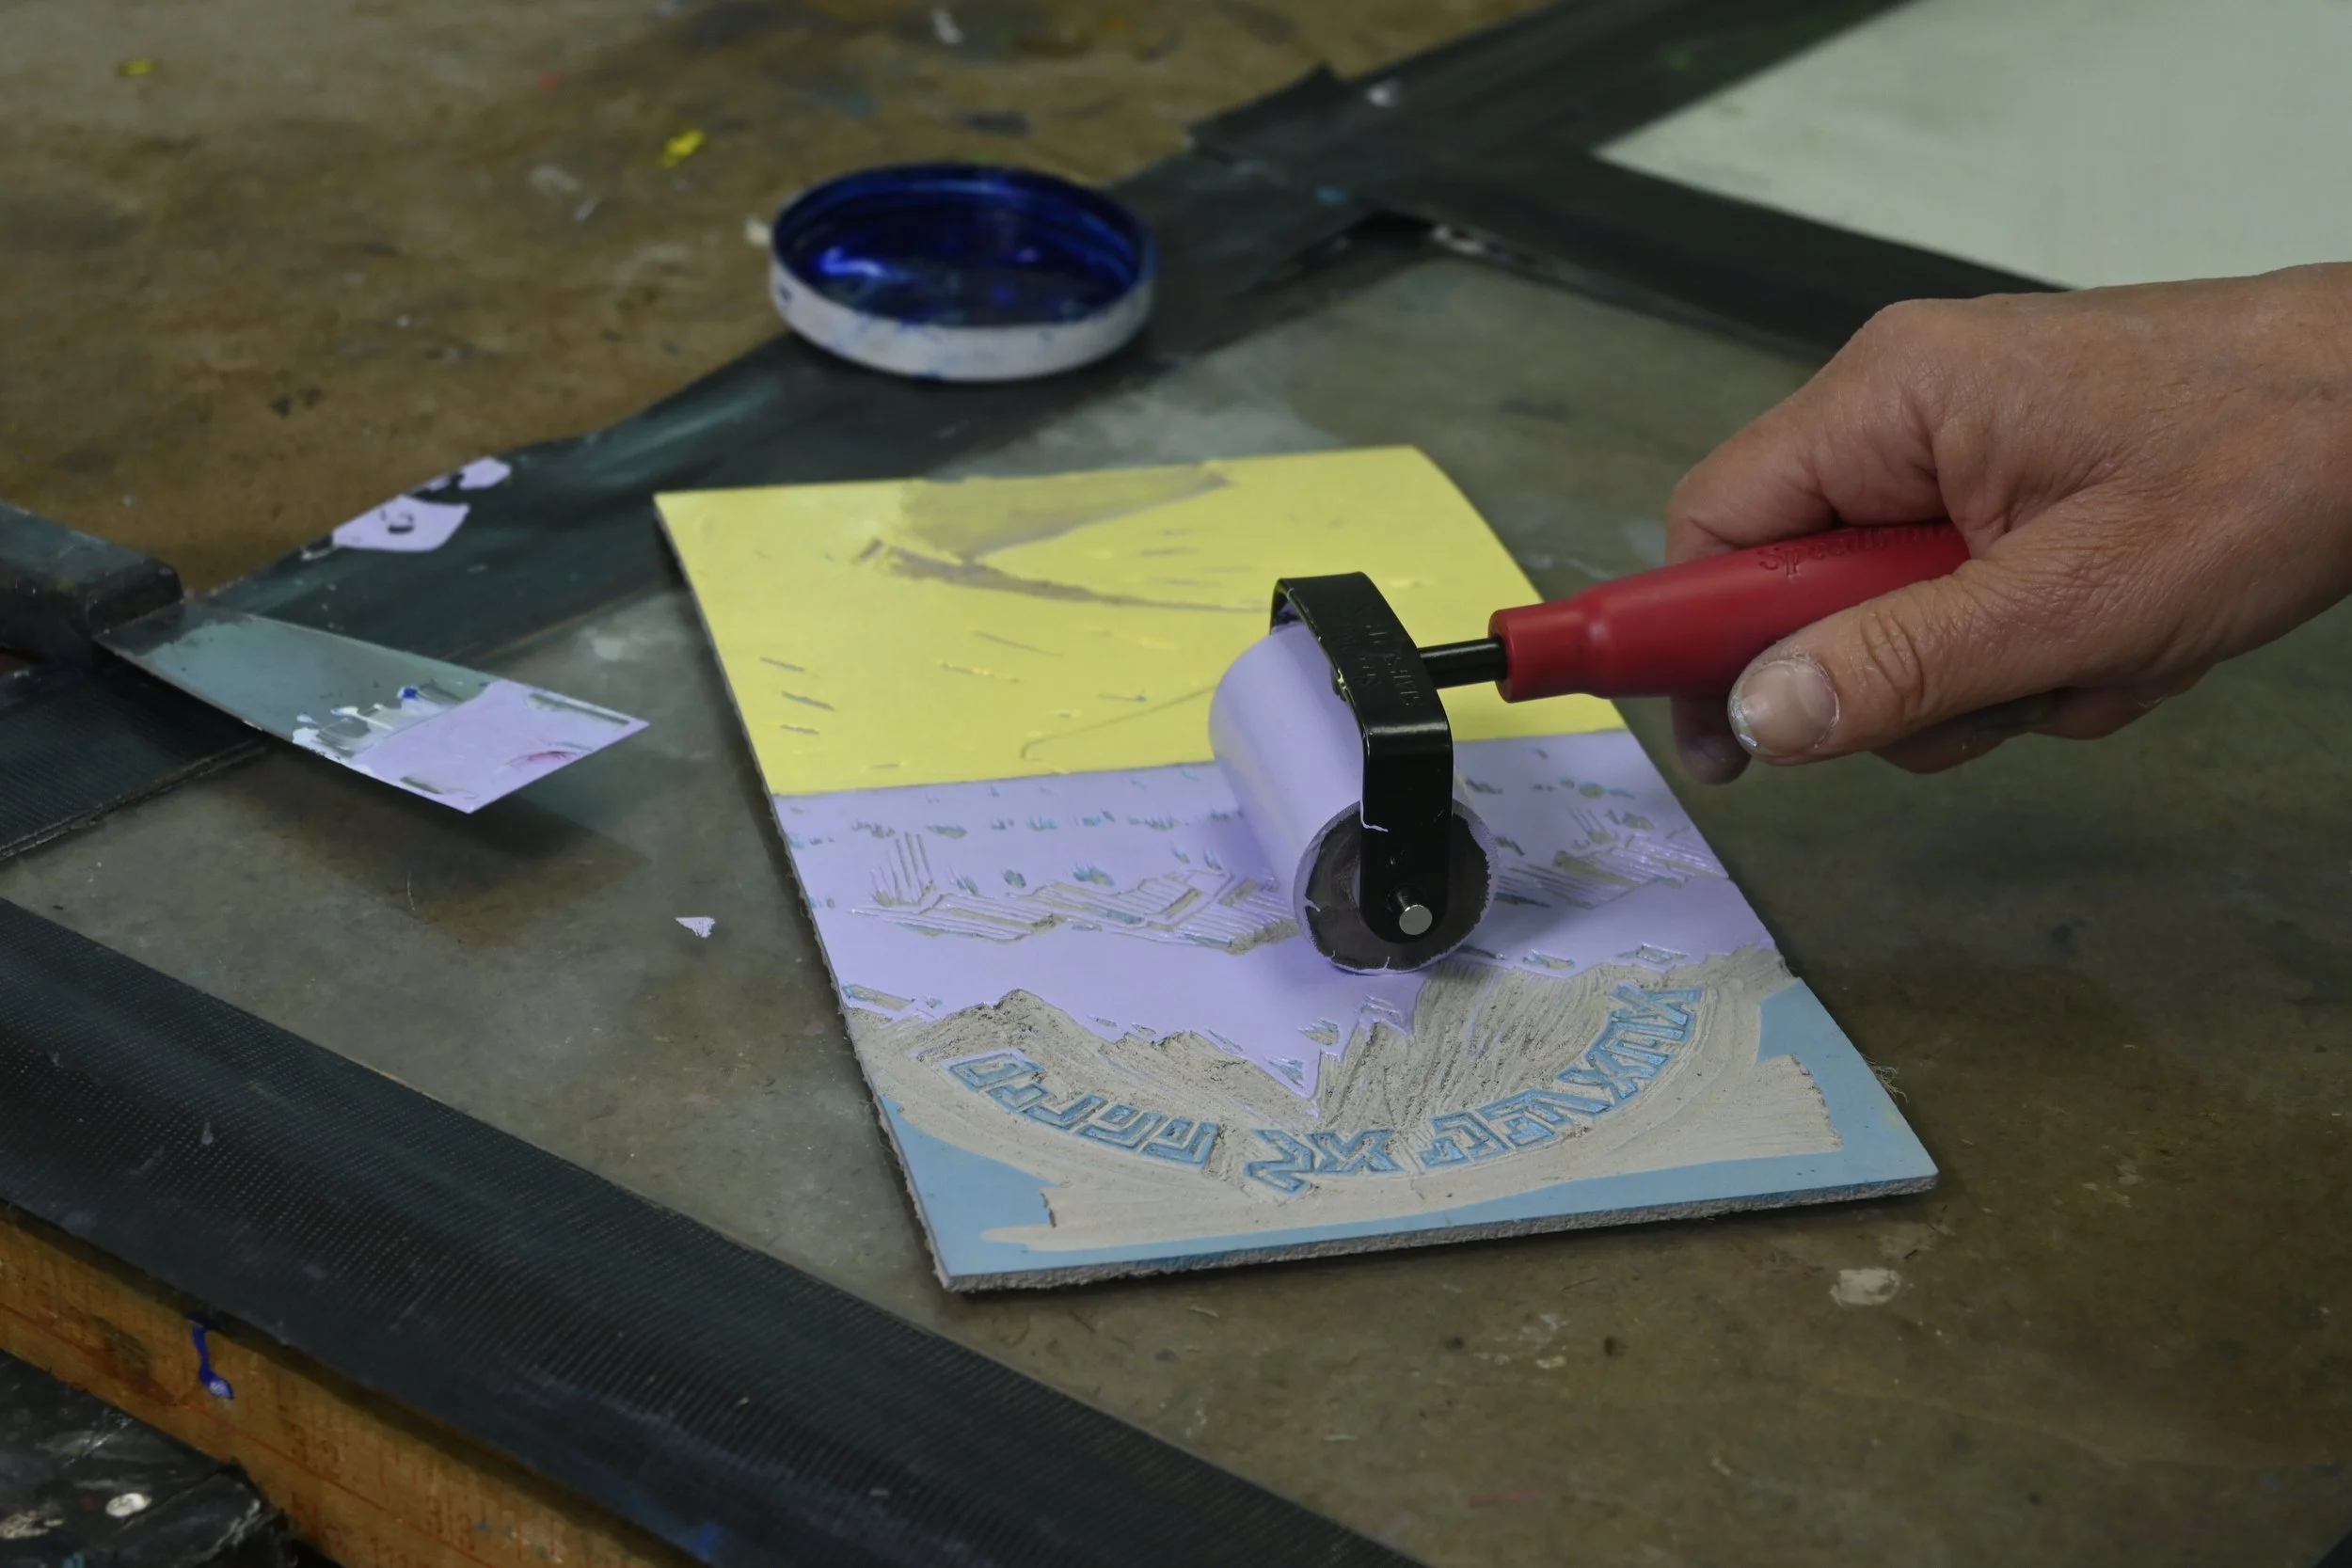
After I have completed the carving for a particular color, I mix ink to create the desired color. I put the ink on a flat surface (glass or acrylic) and roll it out evenly with a brayer, so that ink is picked up on the brayer.
Next, I roll the brayer over the carved linoleum block to transfer the ink to the raised surfaces. The ink will cover the high area of the linoleum (that has not been carved) while the lower areas that have been carved, do not receive the ink.
Printing — First Color
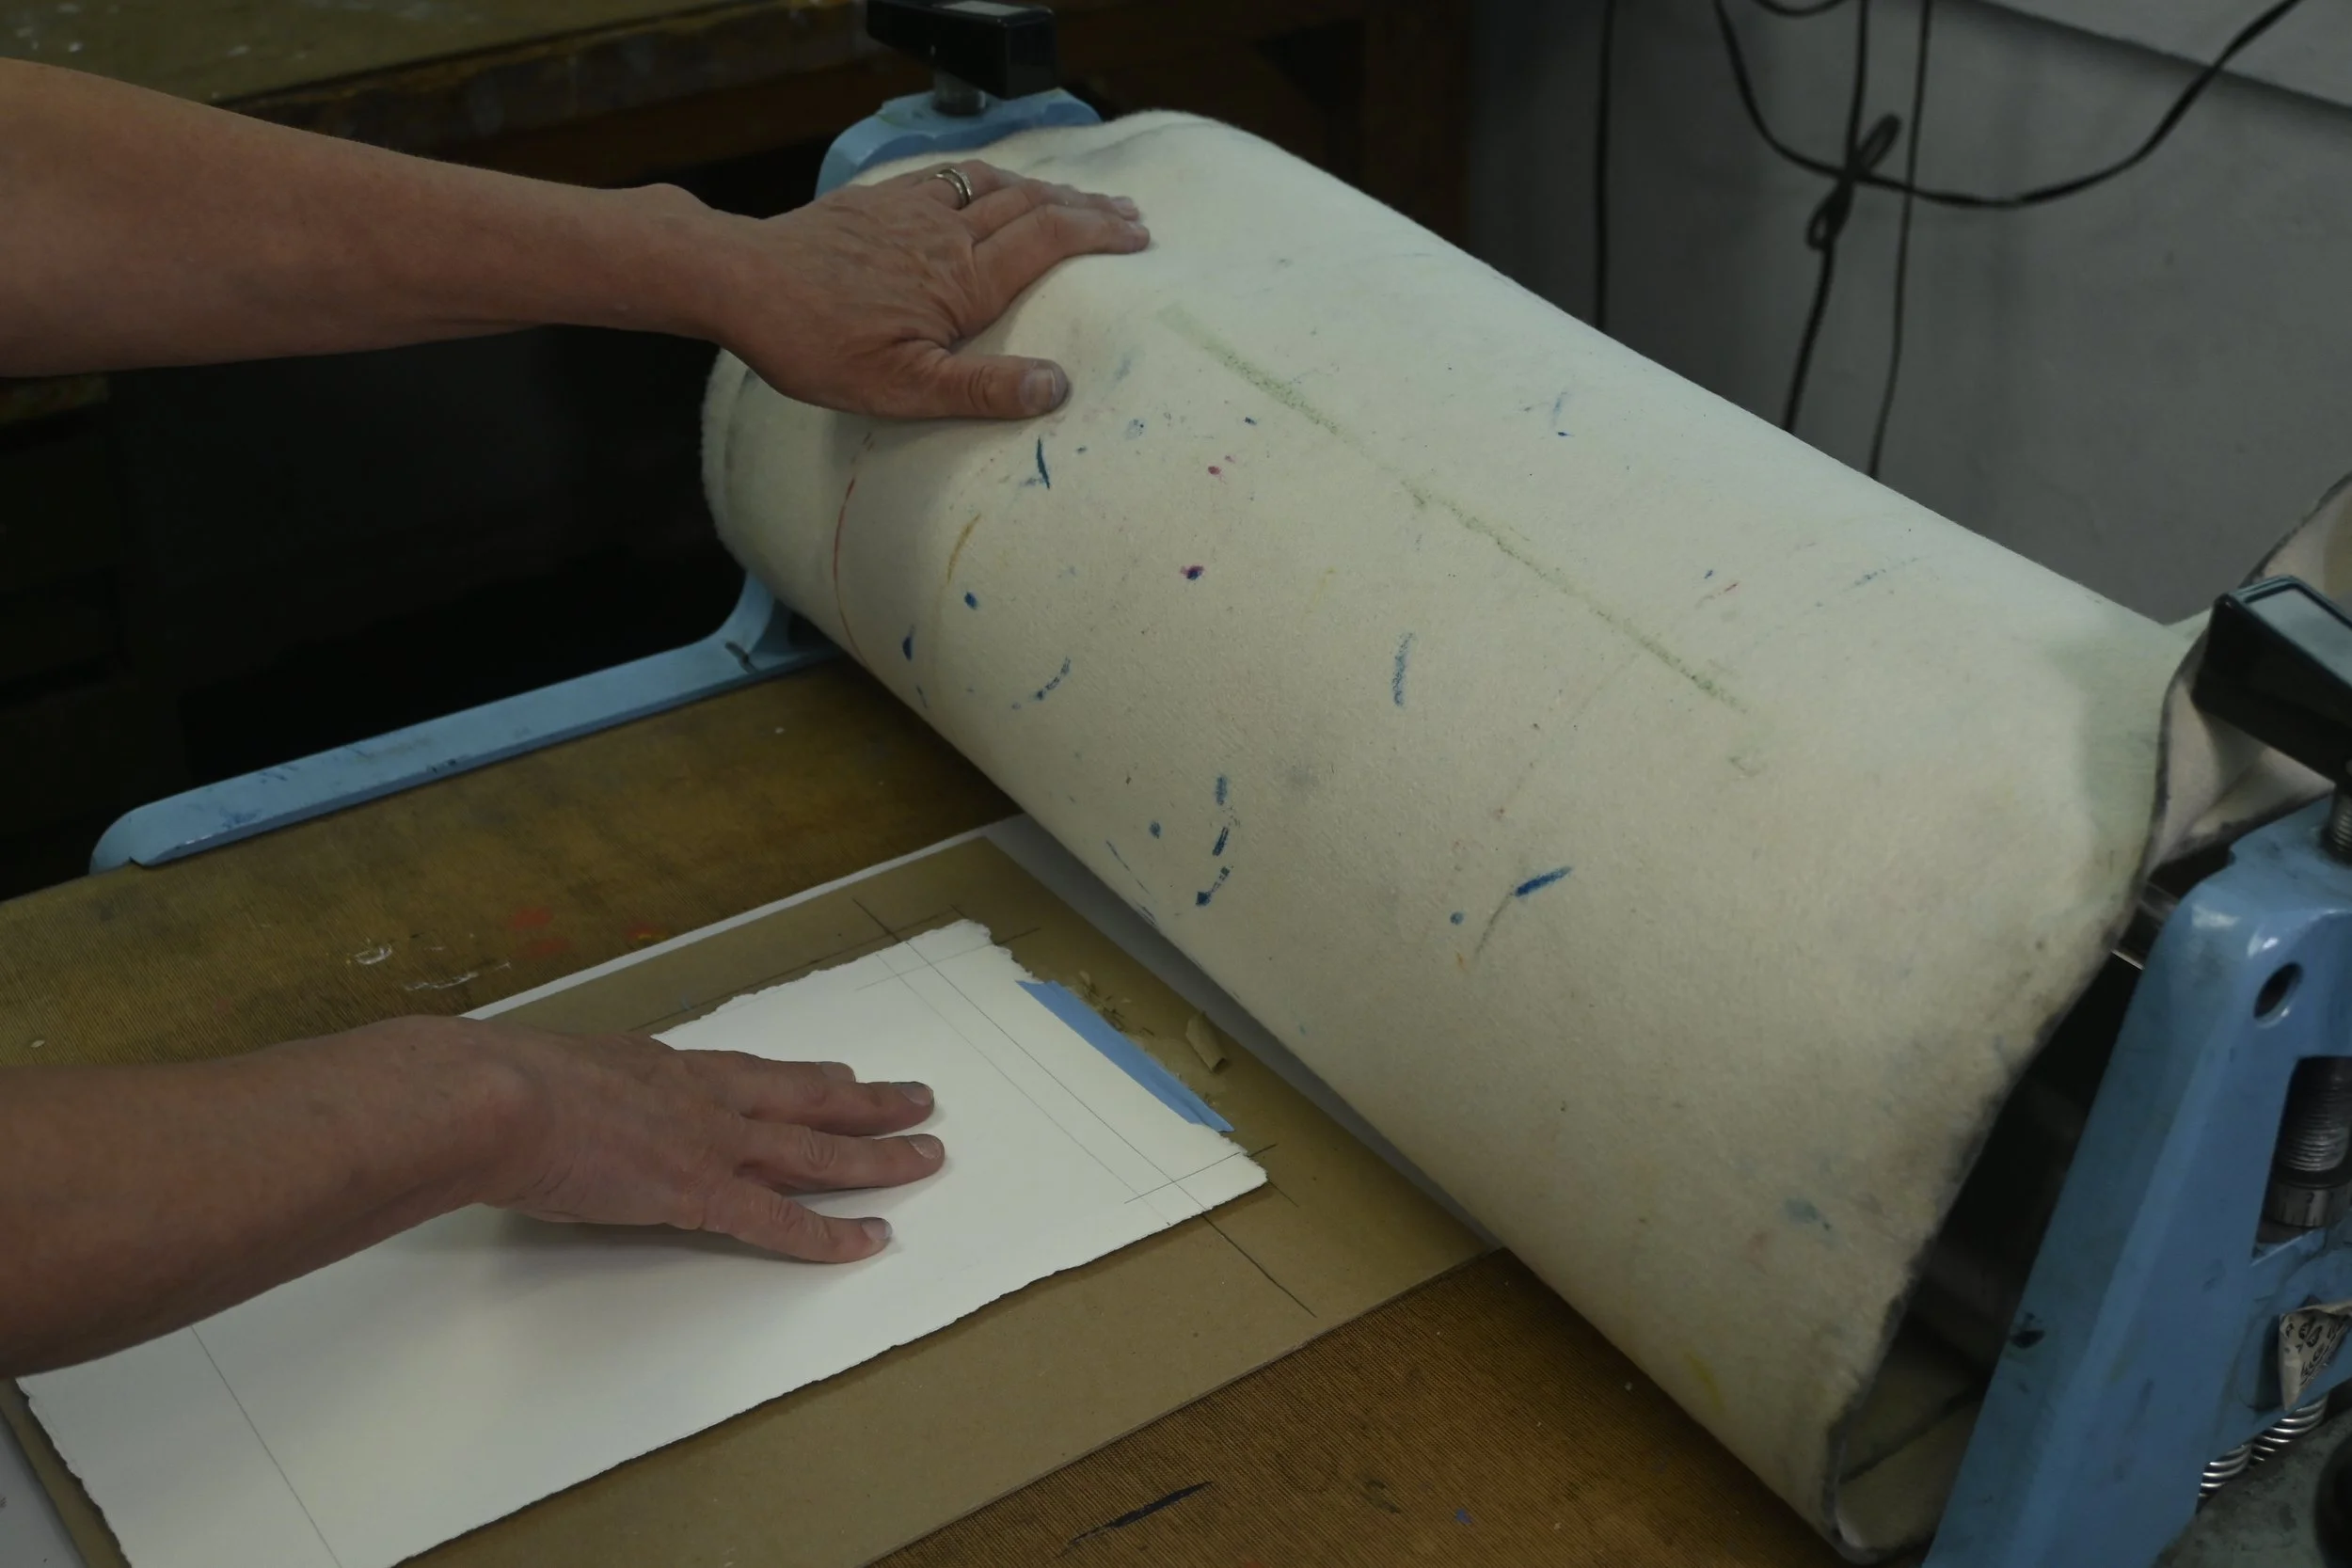
Having applied the ink to the linoleum block for the first color, I then put a sheet of paper on top of the linoleum block and run them through the press.
The “negative” (mirror) image on the linoleum now becomes “positive” on the sheet of paper. Running the block of linoleum and the piece of paper through the press requires precision to avoid misalignment or smudging.
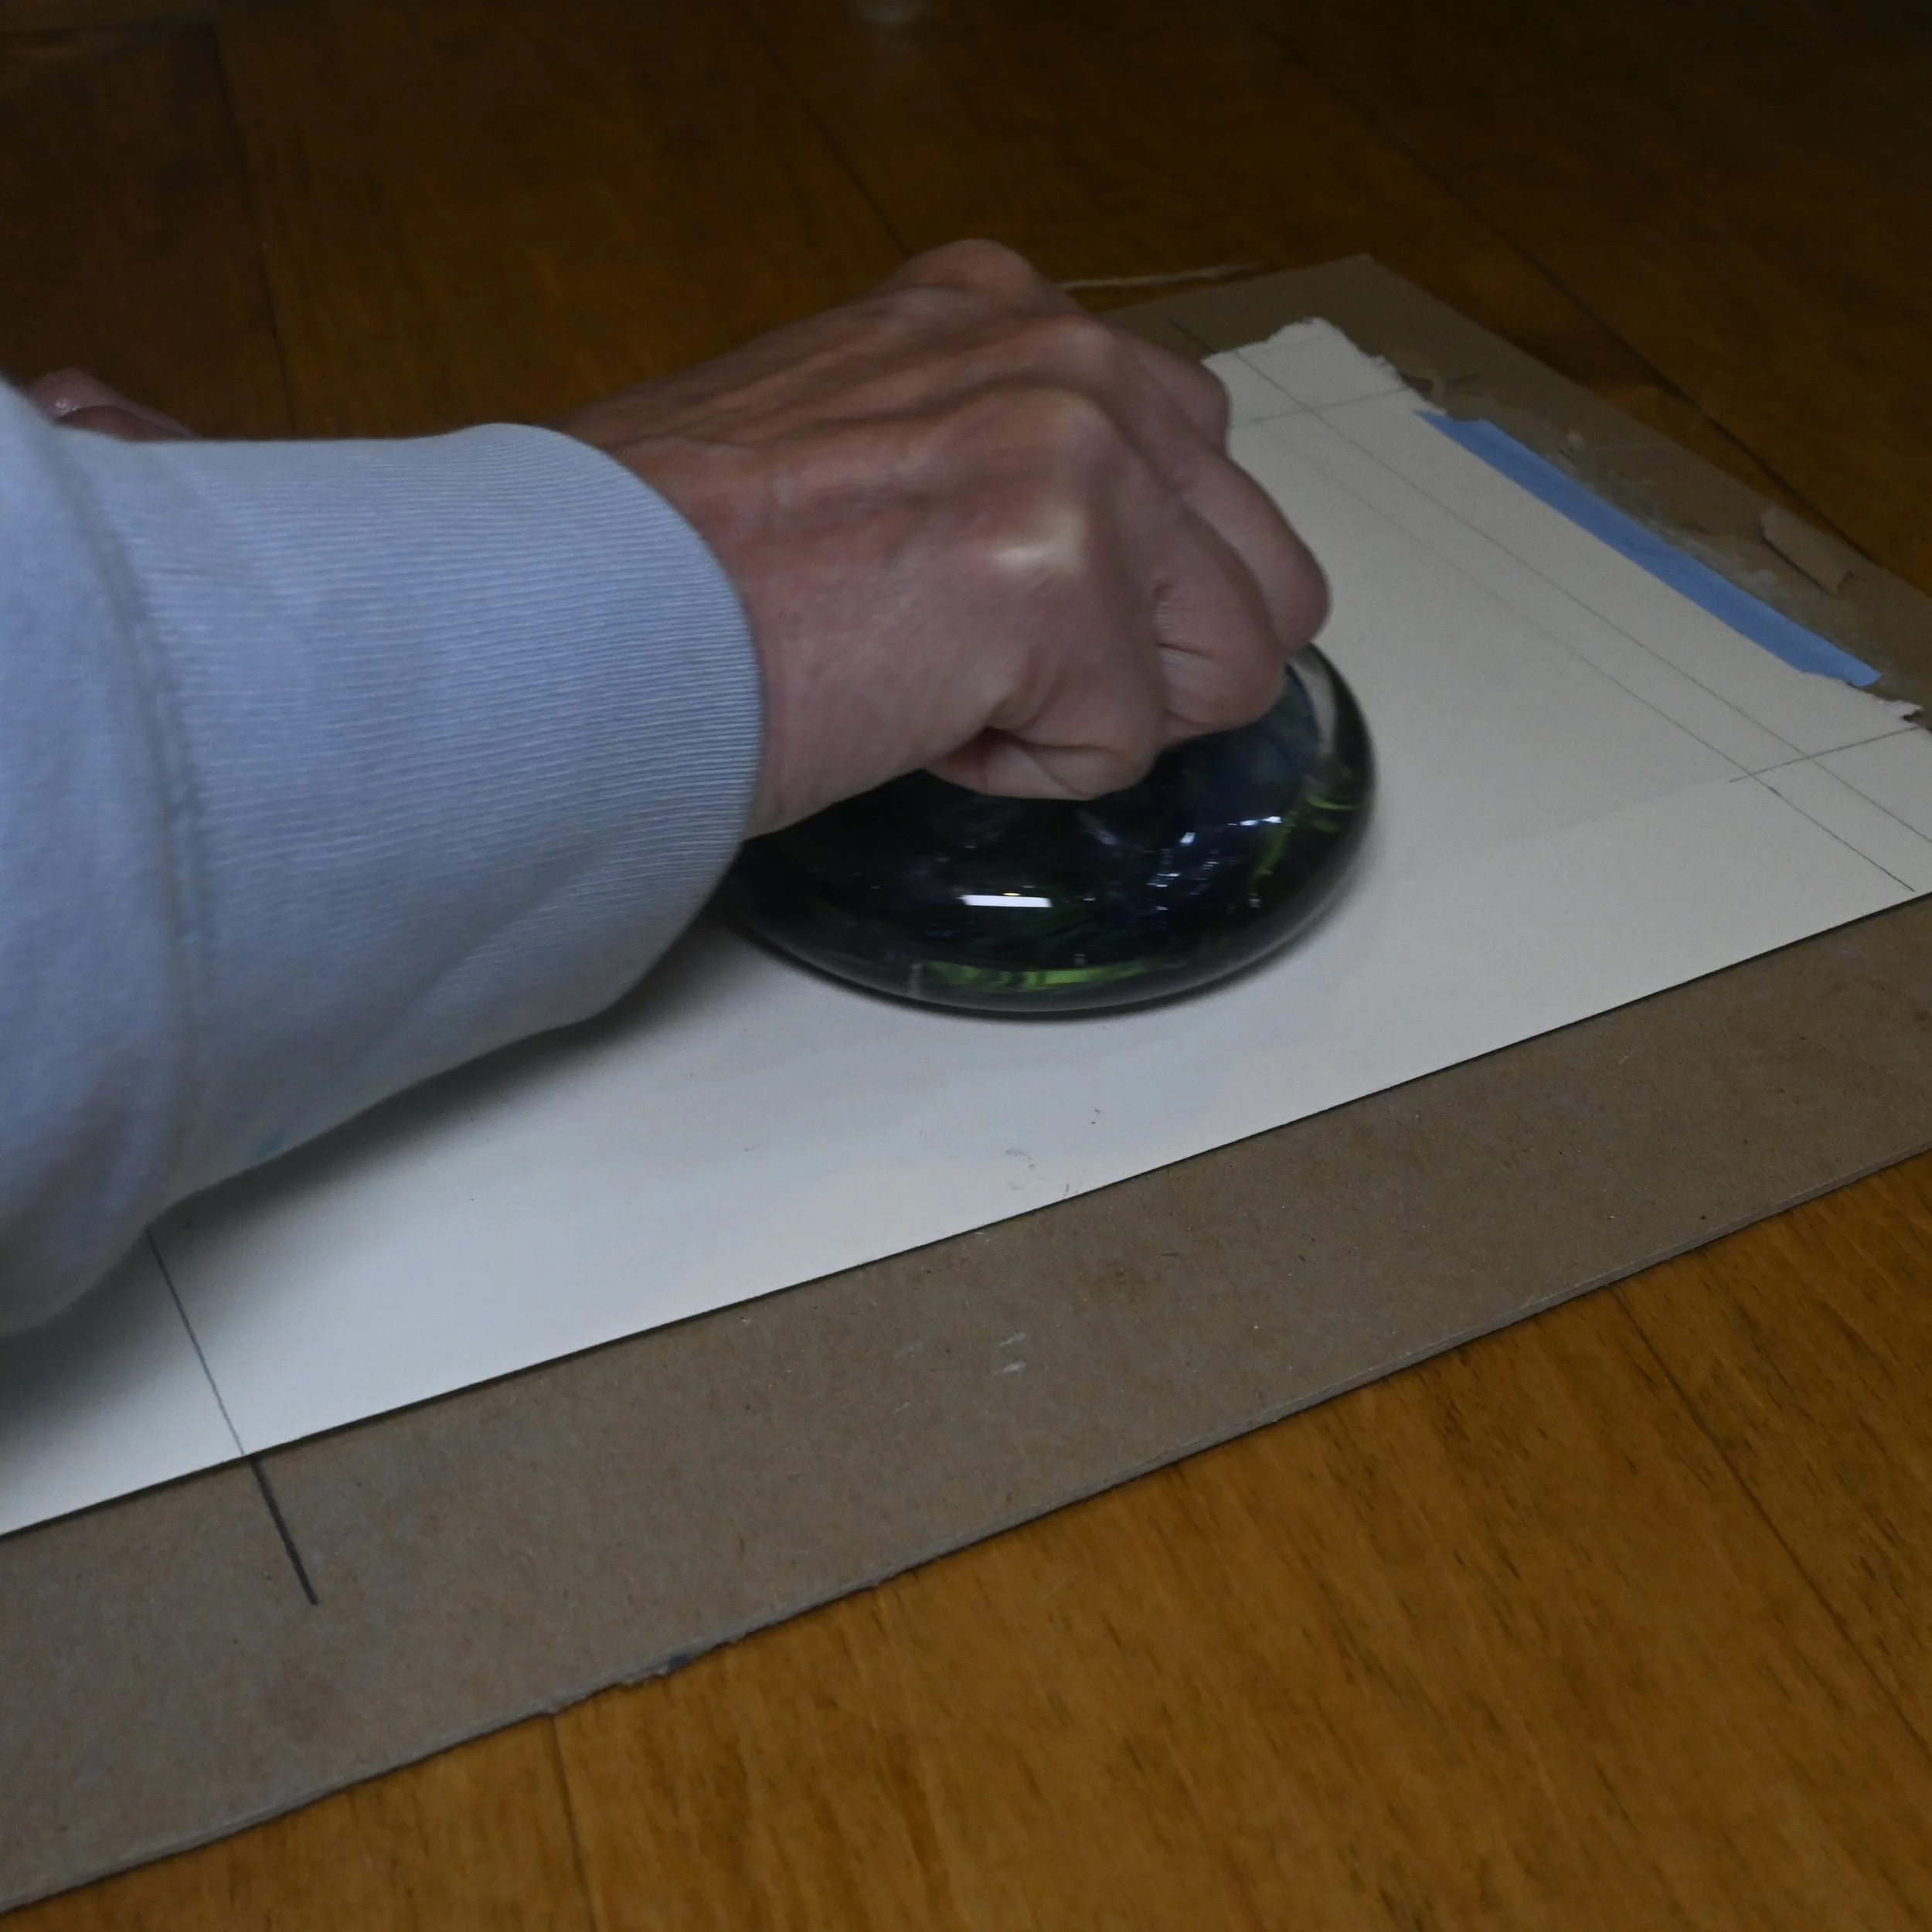
Instead of a press, I can also use a handheld “baren,” applying pressure evenly across the back of the paper to press the ink onto the paper.
Lifting the Print
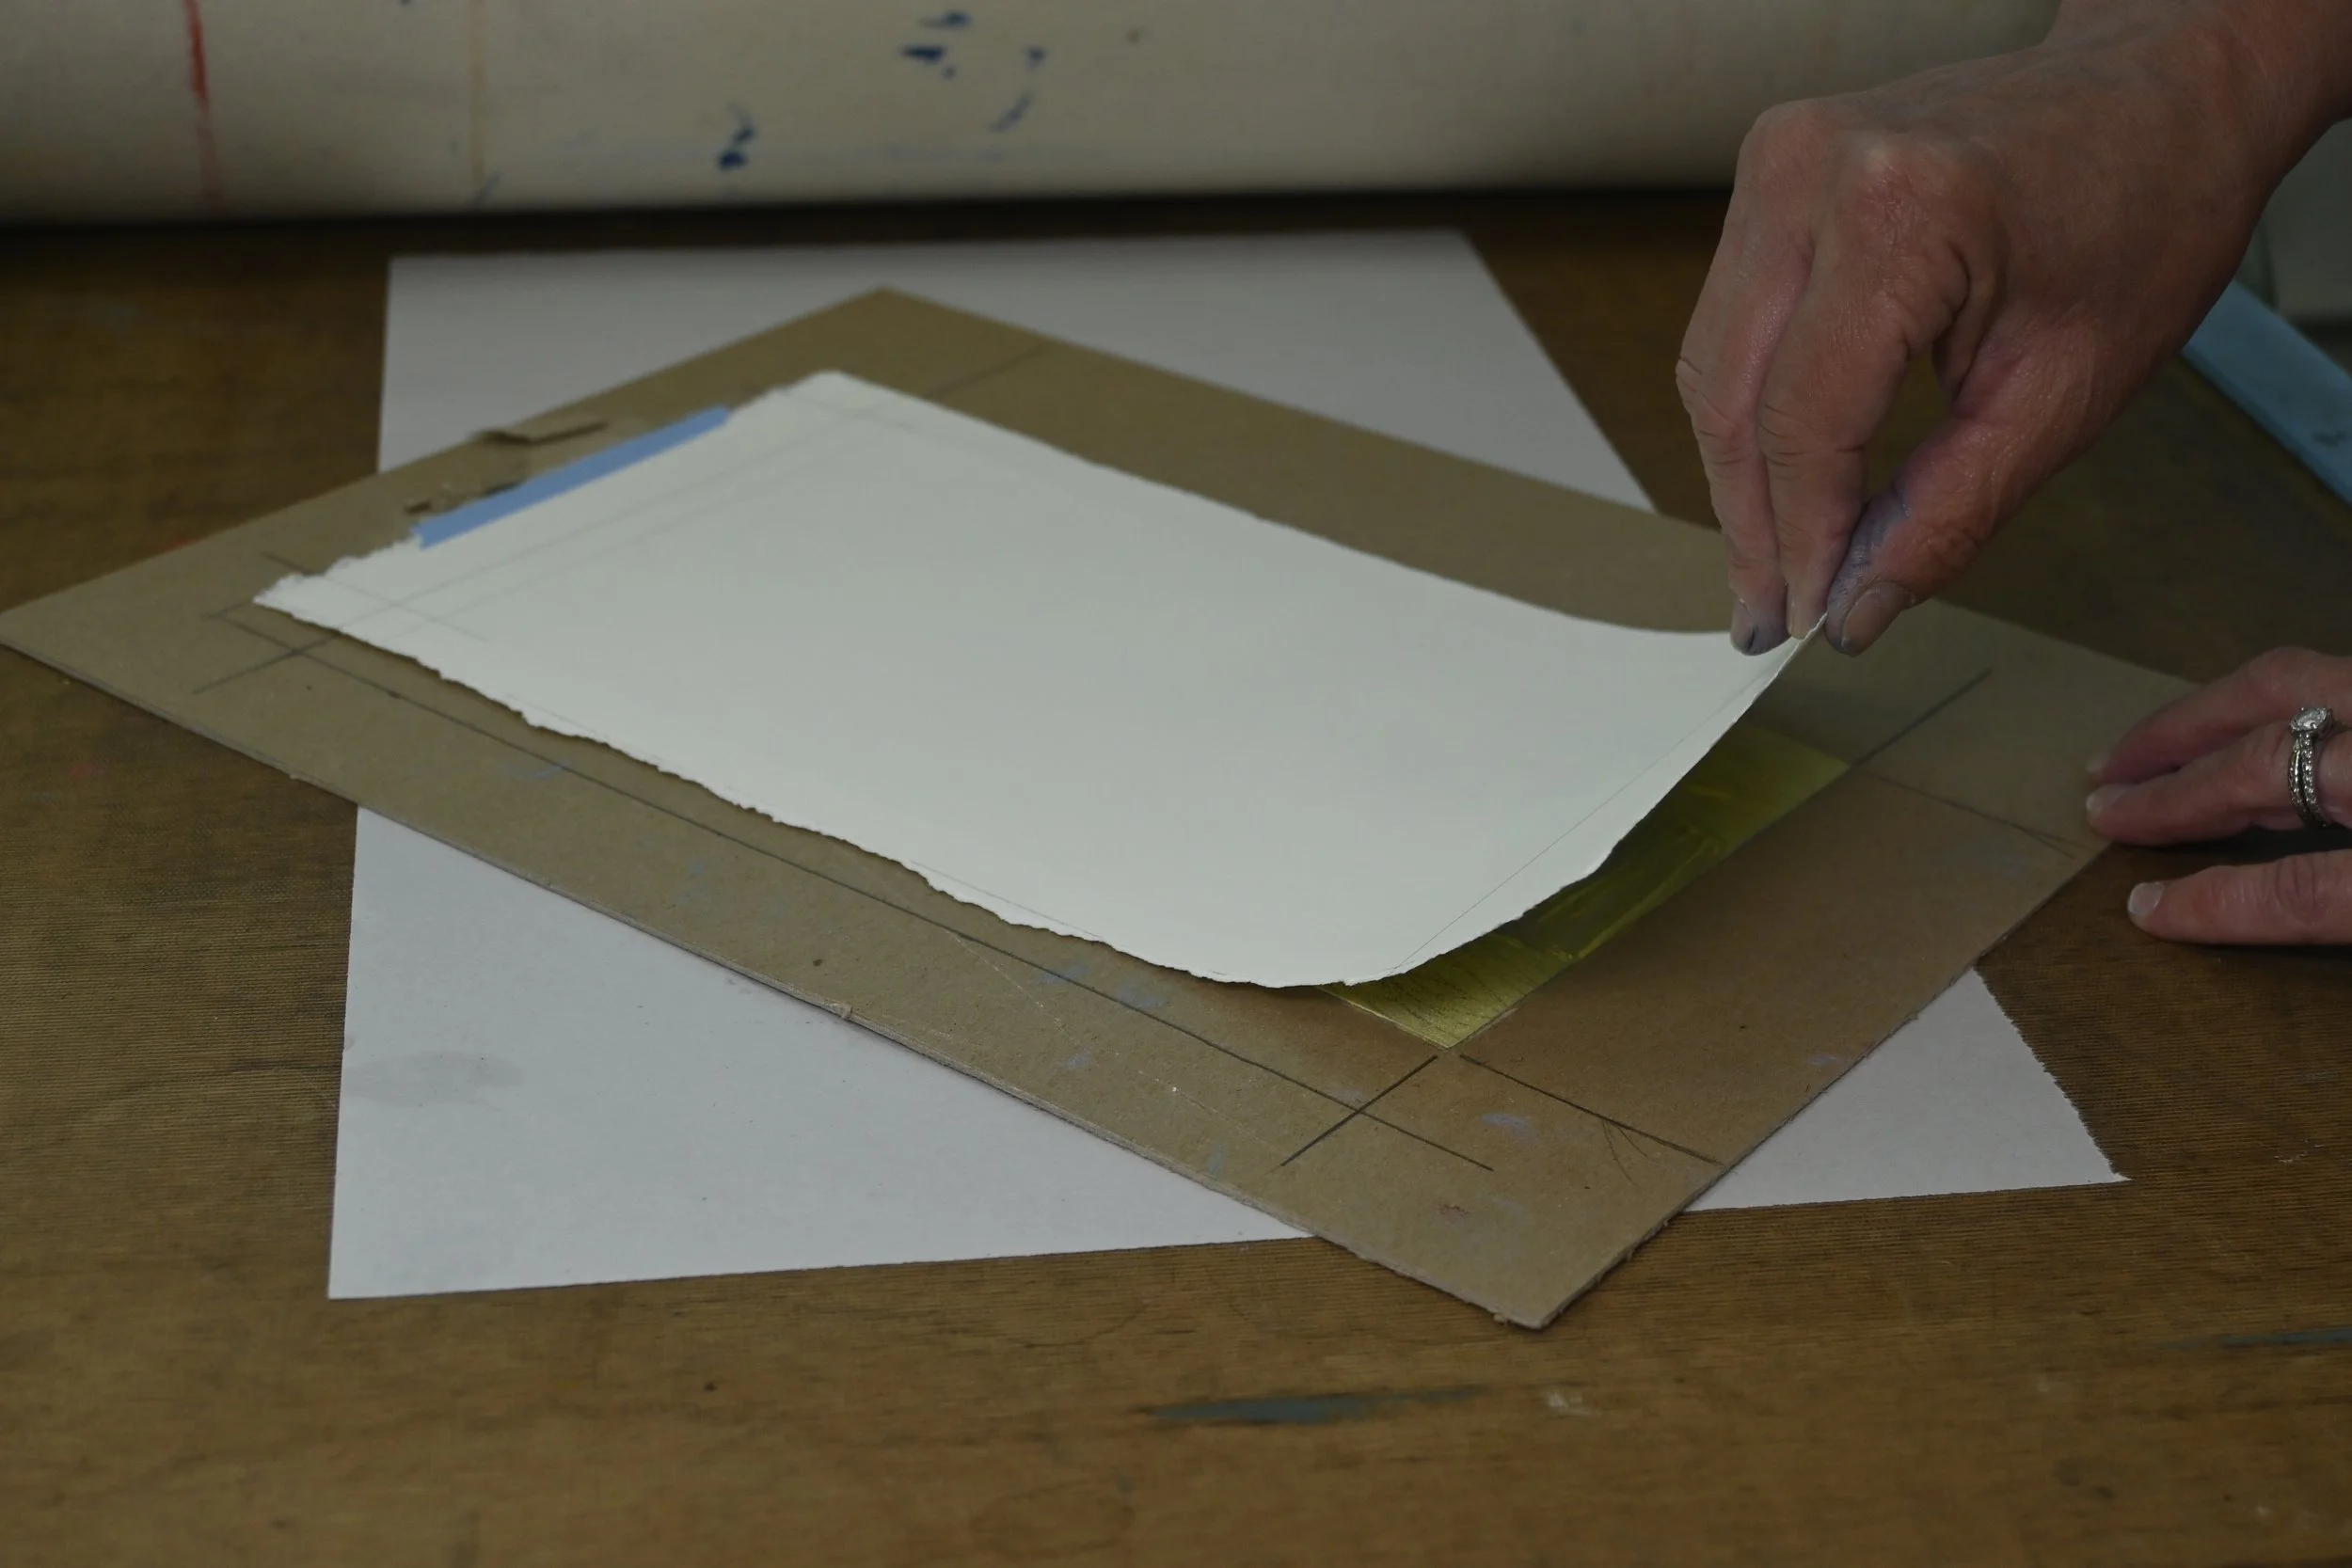
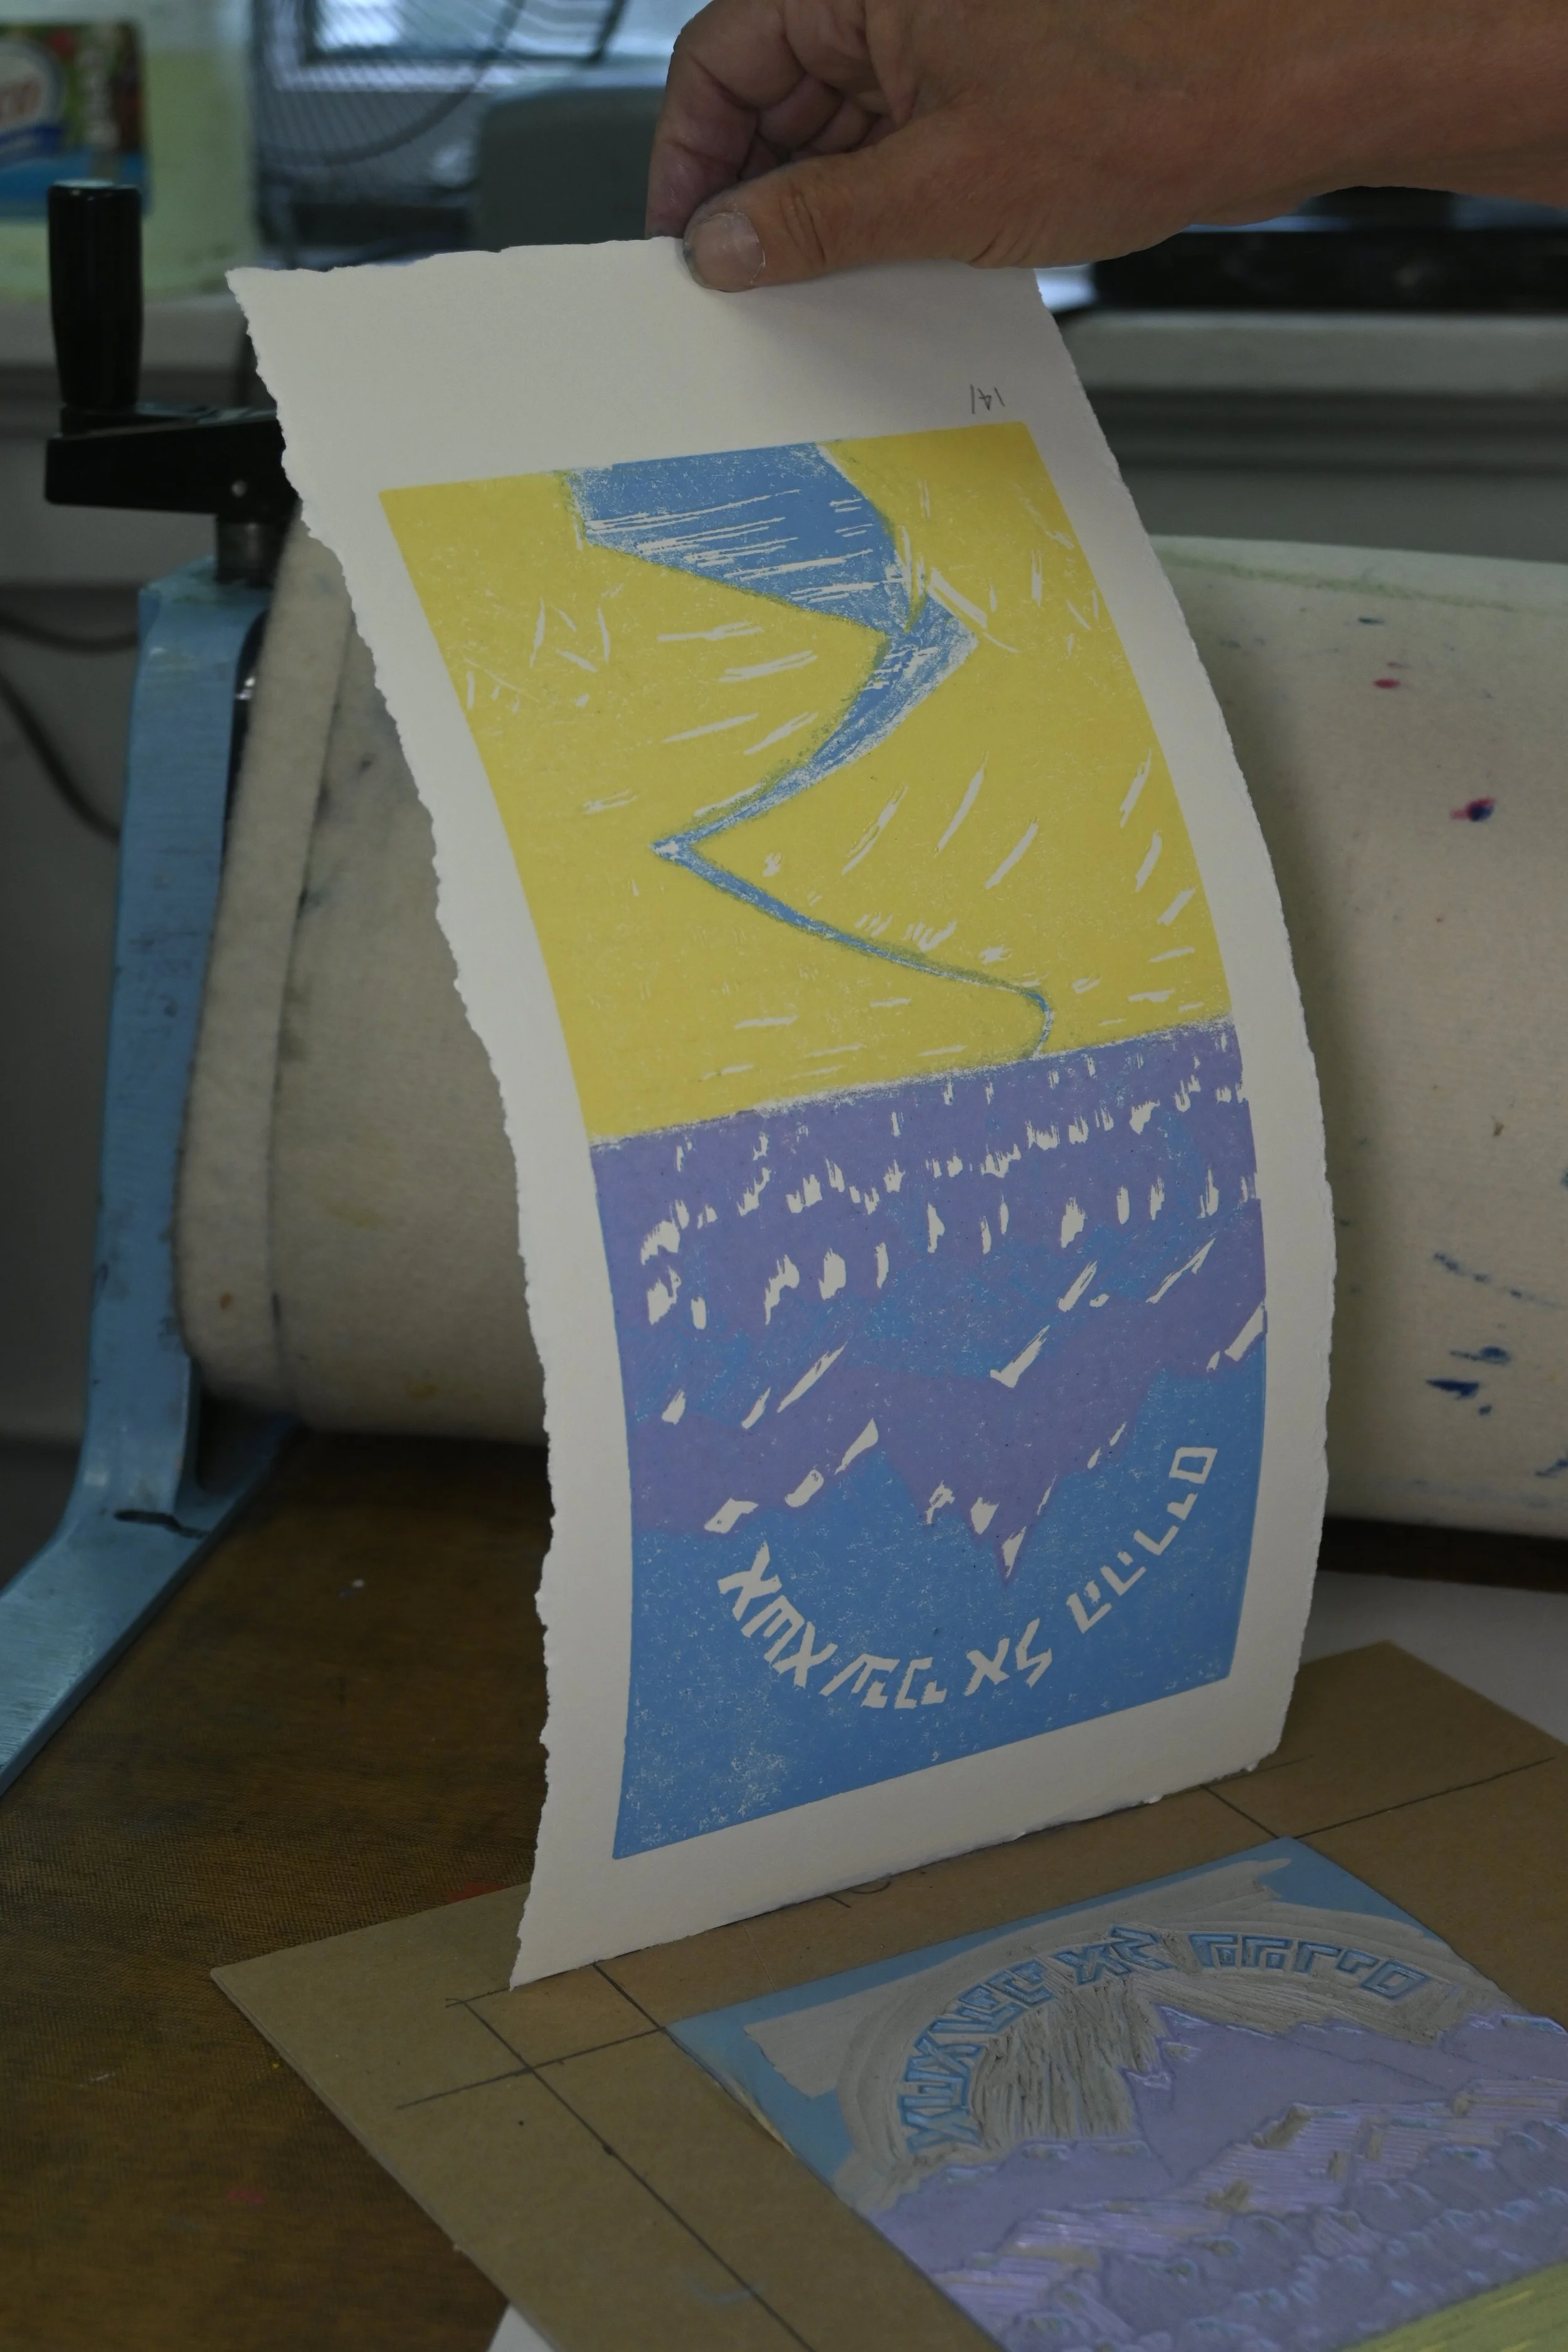
The big moment comes when I roll the press back and slowly lift the piece of paper away from the linoleum block, to see the result of the printing.
Printing Multiple Colors
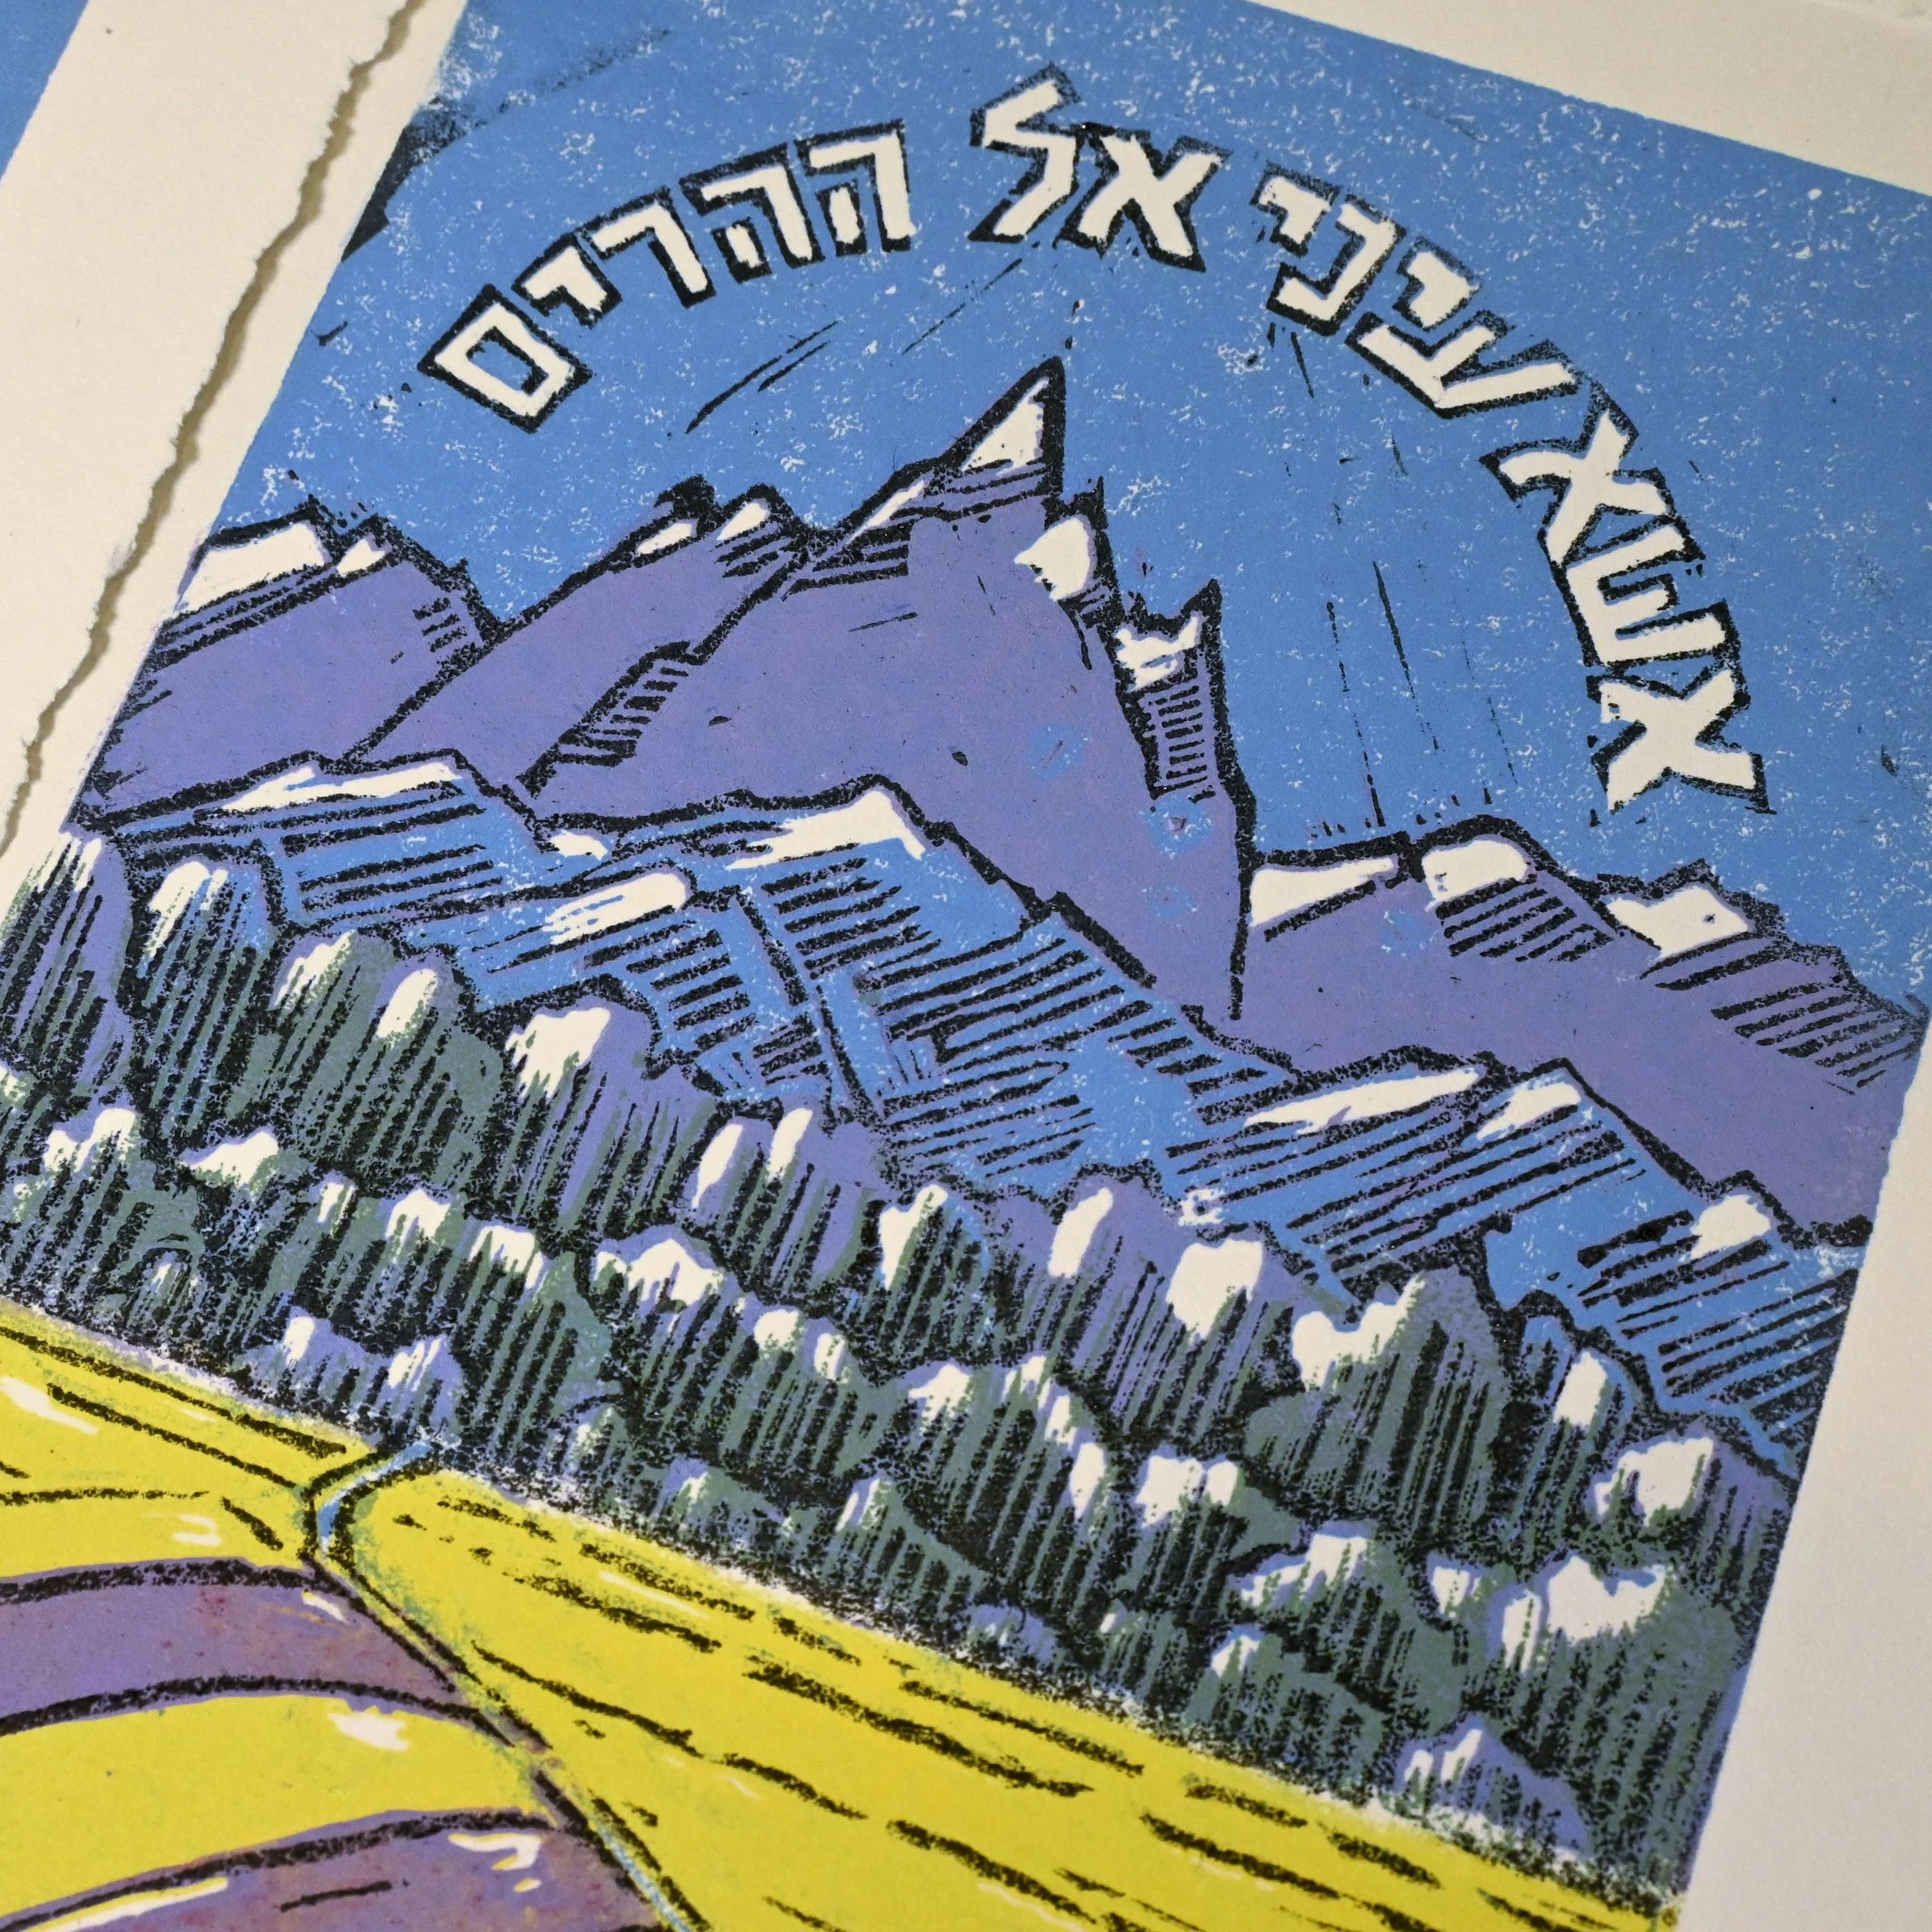
Many of my prints use more than one color. For multi-color prints, the process described above is repeated for each individual color, using the “reduction” method. After each color is printed onto the piece of paper, more linoleum is carved away so that the next color to be printed will be the highest area of the linoleum block.
The lightest color is printed first and the process continues until all colors are printed onto the paper. Each time the piece of paper is run through the press, it must be placed with precision, so that all the colors of the print are properly aligned.
Unique Prints
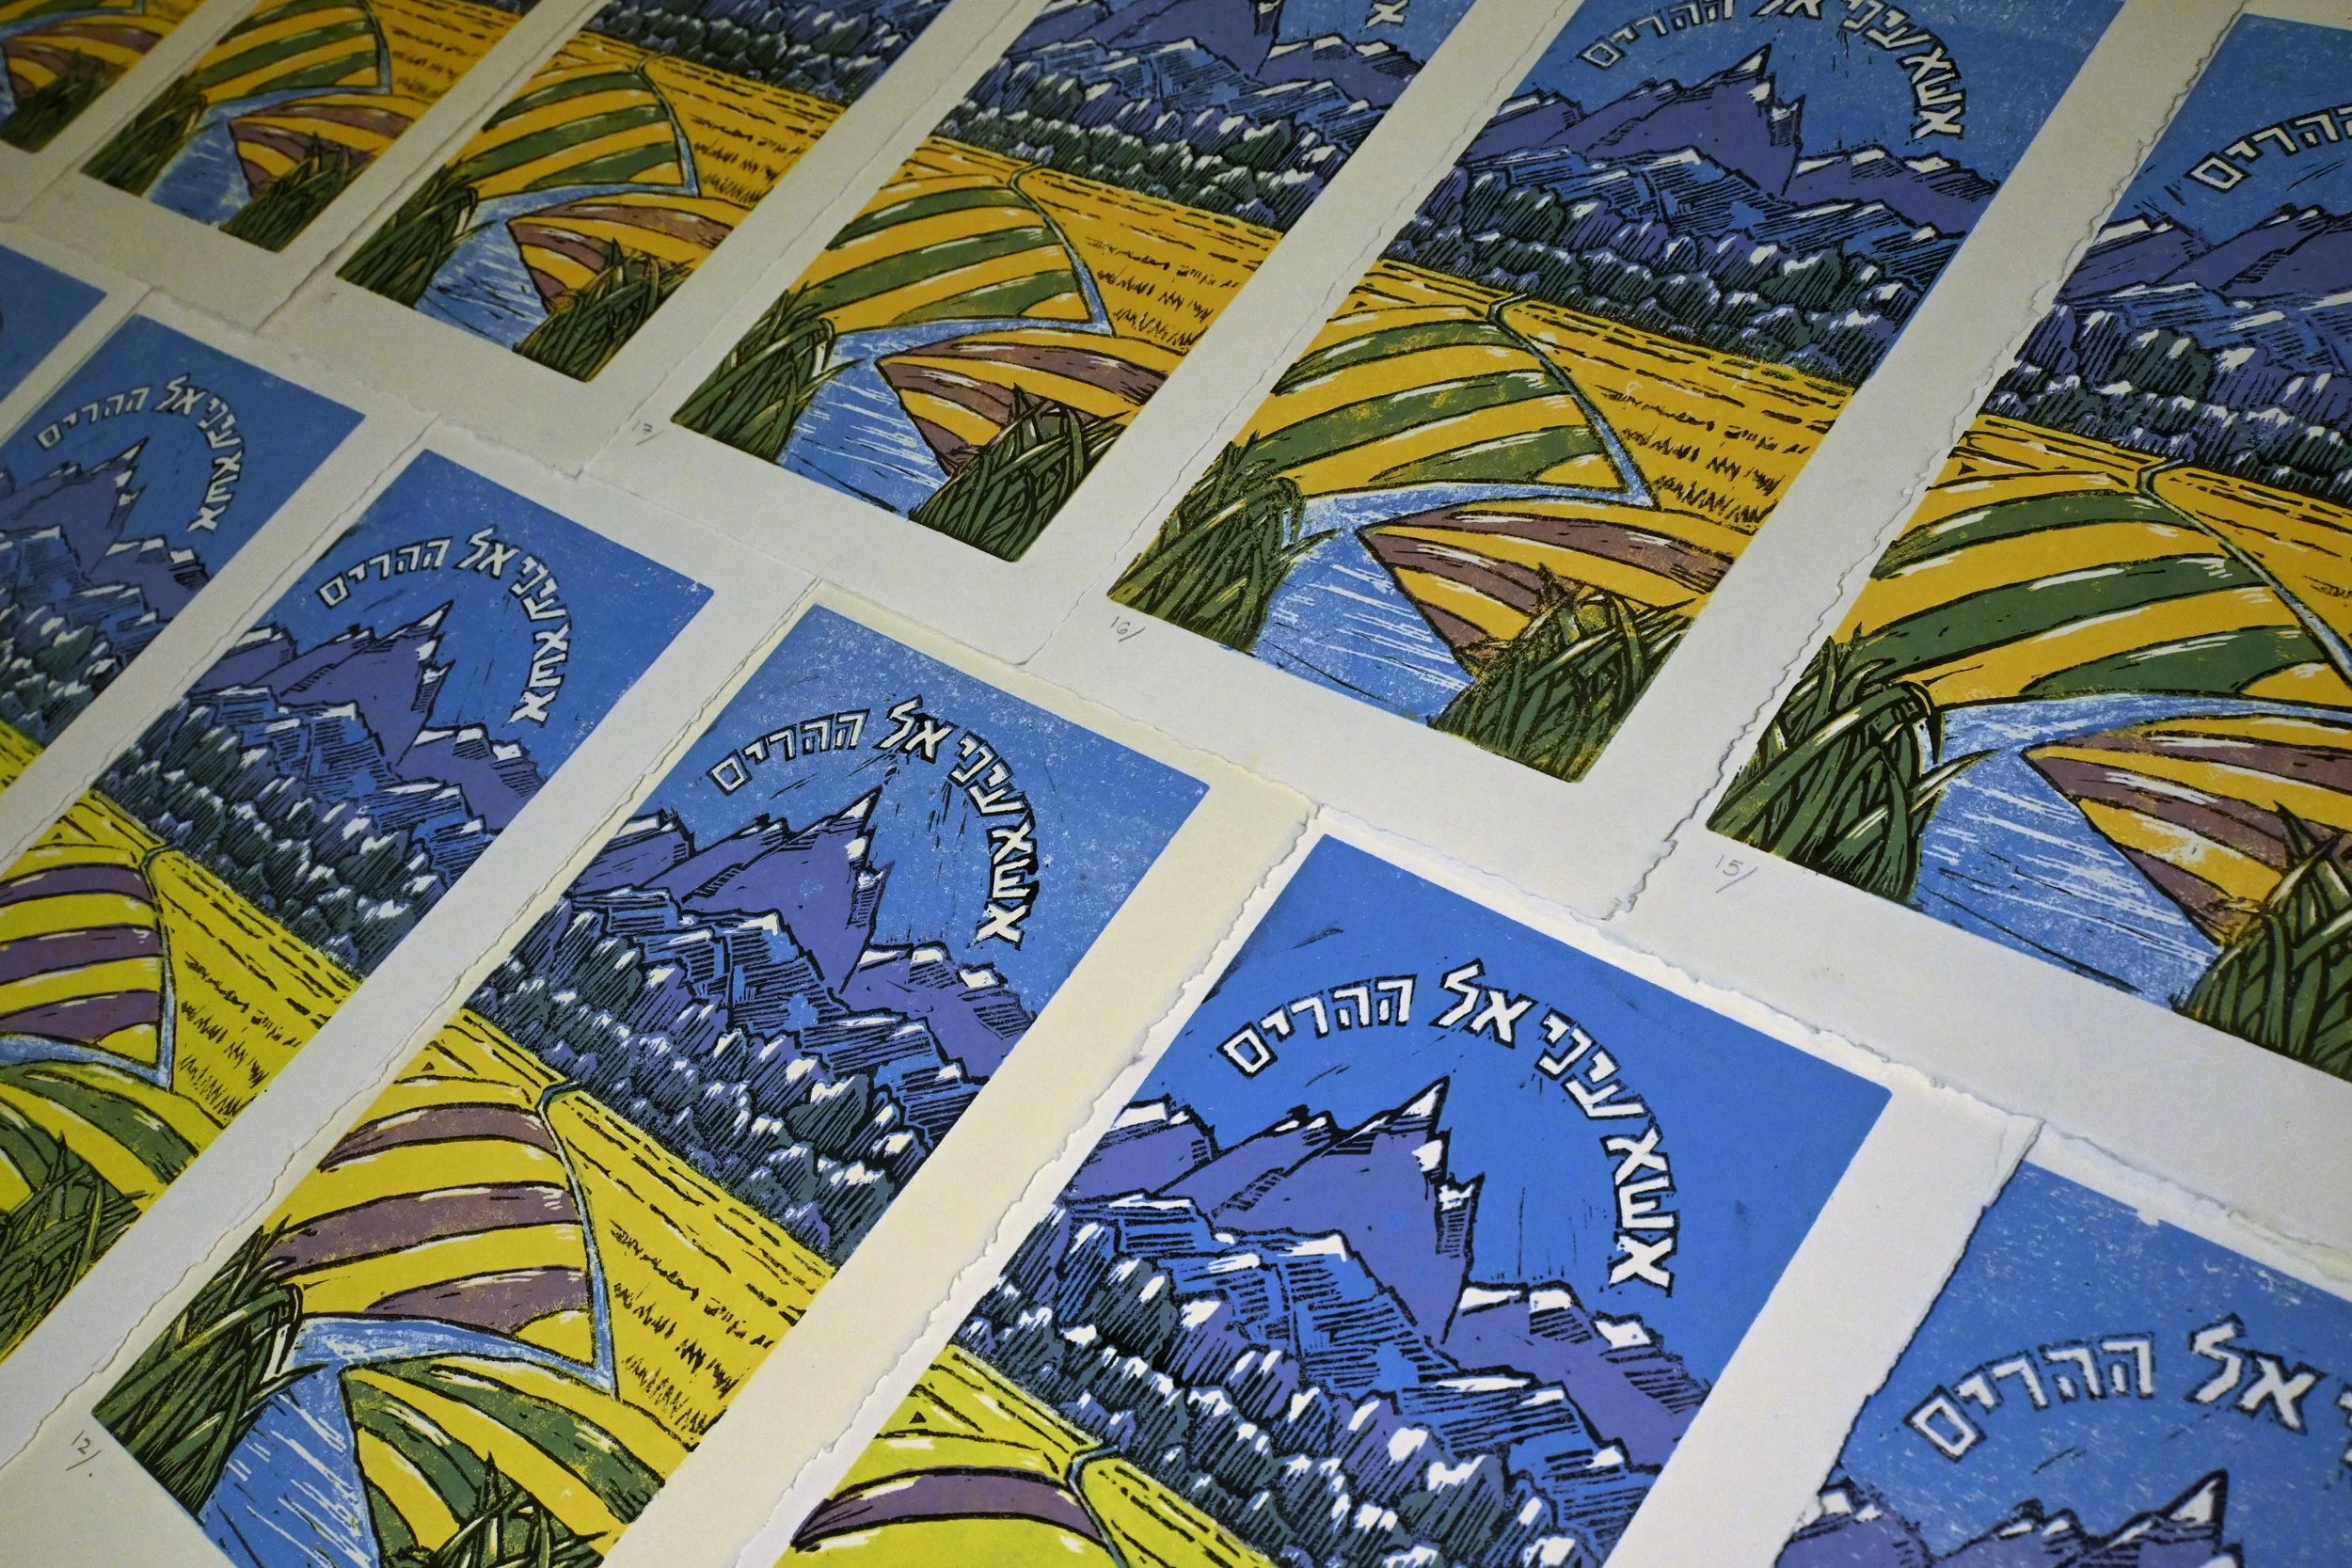
Because each print of a series is made by hand with multiple runs through the press (for the various colors), there will always be slight differences between the individual prints in a series.
This is what gives handmade prints their character, as no two prints will ever be identical.
